


Now I generally concentrate on the later 18th century, when the muffs tended to be bigger, but smaller muffs are around throughout the century.
Now I'm not the first to make a muff, and I very much relied on the tutorials by Katherine C-G and Leimomi Oakes, in a way my muff is a mix of the two.
The first step was to make a muff base, with a muff base it would be easy to make loads of muff covers in the future if I feel like it. The muff base was constructed from cotton, a thin silk and two layers of batting.
As a pattern I used a muff that I have and love. As a student I was actually known for using this muff in the winter, then I got a job and bought a bike and it's hard to use a muff when cycling.


At this time I also got a lot of assistance by Kurbits, one of my mother's two cats that I'm cat-sitting this week.
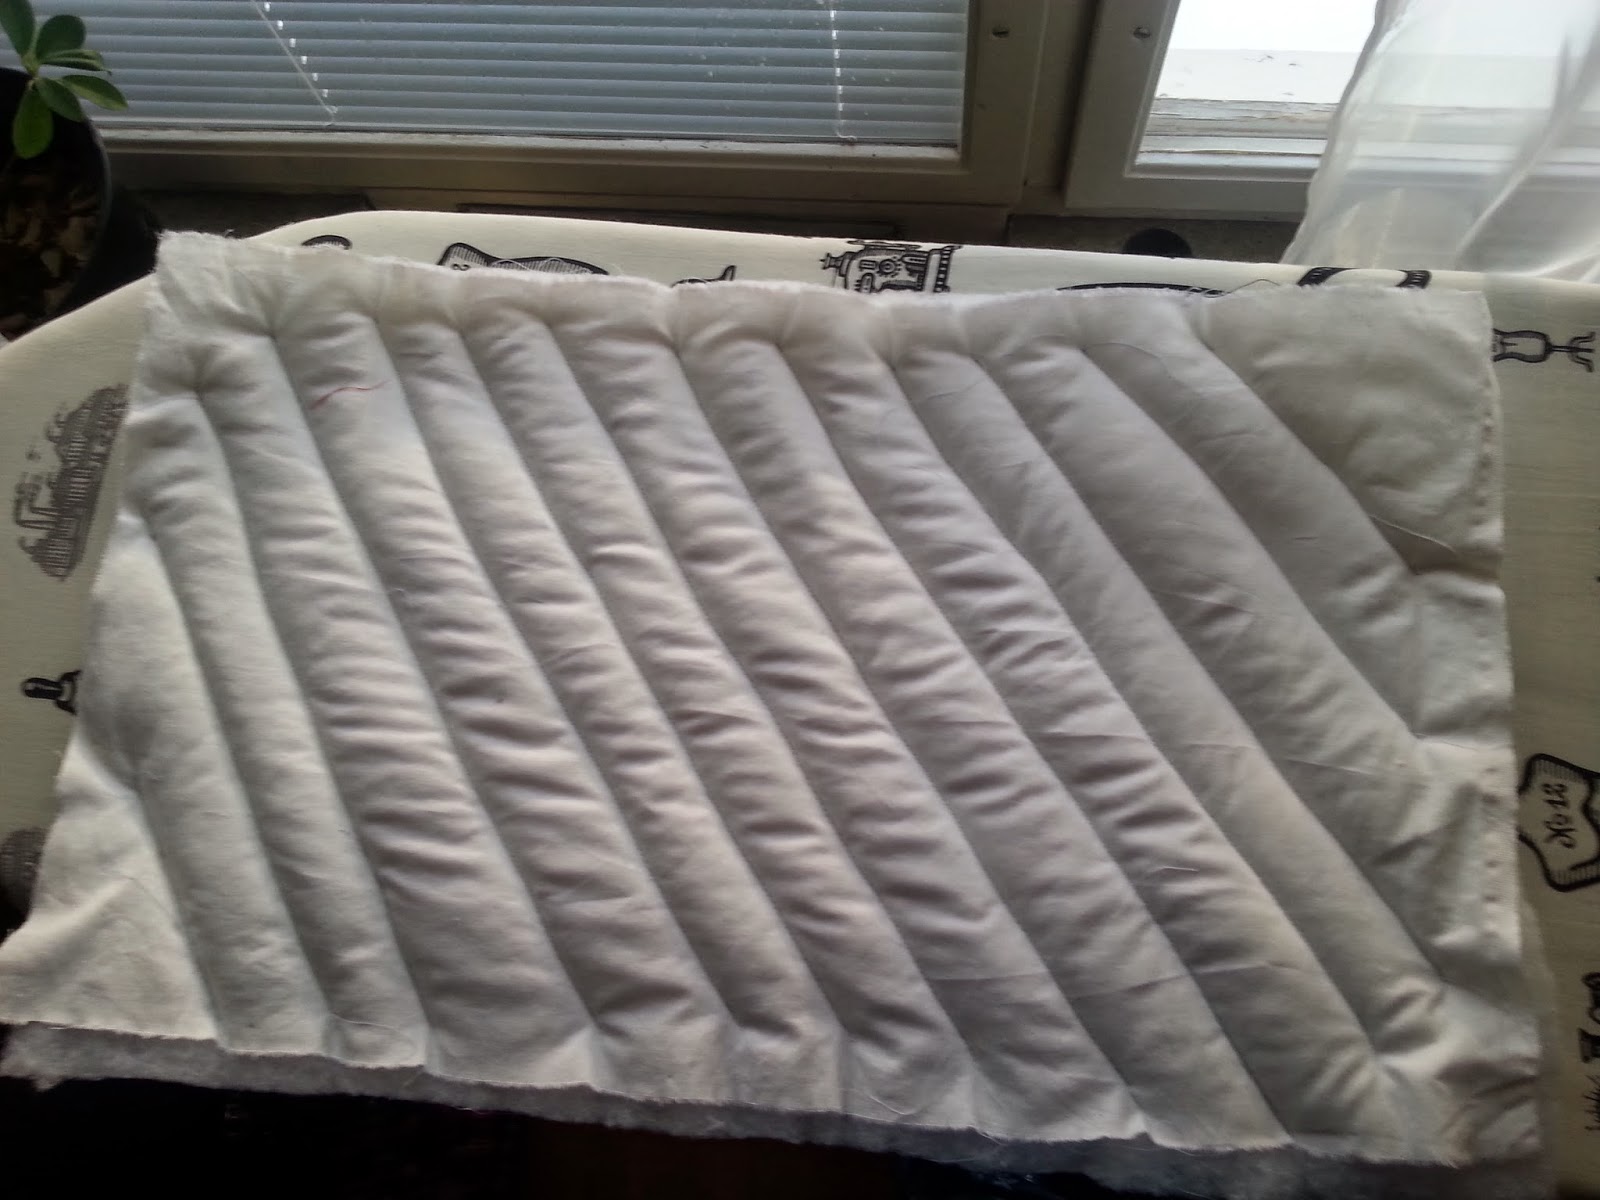
I quickly quilted the padding to the cotton layers, so that it wouldn't slide around. This is going to be on the inside, so I wasn't very careful with getting the quilting lines exactly straight and on equal distance from each other.


For the outer layer I cut a rectangle a bit larger than the muff base.


I haven't trimmed the muff, I want to keep it fairly simple so that I can use it for a lot of different outfits, and a simple case of changing it up a bit would be to just change the ribbons to some other colour.
The Challenge: 2 - Blue
Fabric: 0,5 m cotton broadcloth, 0,5 m silk (habotai?), 0,75 m blue cotton velvet
Pattern: Made my own
Year: 18th century
Notions: Sewing thread, 1 m blue poly satin ribbon, 1 m of poly batting
How historically accurate is it? The fabrics are accurate, but the ribbon and batting are not. I also made it all by machine so I'd say 40%
Hours to complete: 1,5
First worn: Not yet
Total cost: It was all from stash, and most of it old enough that I can't remember what it cost when I bought it.
Future things: I would love if I can use the last of the remnants to make a cape, or rather capelet. I'm not sure that it's enough fabric left but I would love to have a matching hat, cape and muff. I will at least try and see what I can make out of it for the stash-busting challenge.
No comments:
Post a Comment