Showing posts with label 18th century. Show all posts

Thursday, 12 December 2024

HSM24 challenge 2 - a quilted petticoat

 There is something with the month of December and my creativity. I always end up making projects that I didn't have any plans for and yet I most say some of them also give me the greatest joy because there aren't months or weeks of planning and choices behind them, they are more of "make it work"-projects.

This week was no different. We finally got some decent winter weather with temperatures well below freezing. I talked to a colleague about that I should get myself modern insulated overskirt, quite popular in the winter here. She said that a friend of her had gotten a nice one in wool, and not the regular puffy versions. Well that got me thinking...

And the February HSM challenge is Seasons of Fashion: Make something designed for a specific season, whether that be a meteorological season (ex: winter or summer, or the dry/rainy season) or a cultural season (ex: Carnival, the London social ‘Season’)

I have always dreamt of a beautiful matelasse and embroidered 18th century petticoat. I haven't had the time or energy to make it myself, and the perfect quilted bedcover that I know is out there, has so far eluded me.

The dream

Looking around at digitaltmuseum.se, which holds digital collection from a lot of museums in Sweden including Nordiska Museet, I found quite a few examples of more simple quilted petticoats, called "stubb" in Swedish. Many of them are later, second half of the 19the century or early 20th century, and they are usually quite worn as well, obviously made from pieces that have been patched together.

Petticoat from my hometown of Falun
photo: Dalarnas museum

A common thing between them semmed to be that they are not quilted all the way to the top of the skirt, and some have a nice decorative binding at the lower part of the skirt. 

I decided to make one, I would use the 18th century style, with openings in the sides and tied together with ribbons, but I would do it more in style of the later skits and quilt rather than embroider the fabric. I also really liked the binding at the bottom.

Then it was time to rumble in my stash, and I immediately knew that I wanted to use a quite stiff green wool fabric that I have, since I don't consider it suitable for historical projects, both the stiffness and the colour is off. For the quilting I used an old cover for an ironing board and since that wasn't very wide I also added a fleece blanket for the wadding. On top of that was an old Christmas curtain from my mother-in-law

I definitely left the historical materials for the inside, but again this was what I had at home. I quilted the pieces together with the machine, and then it turned out that the curtain was really good. I didn't have to mark out the sewing lines but used the star pattern as guidelines. Still the wool fabric was a bit short, for a modern skirt it would have worked, but I wanted it to really go to at least half my calves. Time to rummage in the stash again, and now I decided to use a nice 18th century reproduction print that I bought more than a decade ago. I figured that if I really just cut out fairly narrow strips I would still have enough of the fabric to be able to make a nice jacket out of the fabric one day. I used a strip of fabric to the top, and bond the lower edge with the same fabric. I then knife pleated the top, which of course was easier since it was the cotton and not the thick wool, into a lining of the same wool as the main skirt. Finally I added ribbons to the side so that I can tie the skirt around the waist.

The finished skirt, which is an 18th century petticoat, but back in those days it would probably not have had extra strips of the expensive cotton. As a bonus it will work as a petticoat for folk fashion throughout the 19th century, and I am planning on using it on cold winter days as well with my modern clothes. I was really wondering if I would put this as challenge 2 or challenge 7, which is "always in style"


Me wearing the petticoat under a regular 18th century skirt. I loved how puffy and big the skirt got with it.

What the item is: a quilted petticoat
How it fits the challenge: It is a quilted petticoat to keep warm during the winter
Material: 1,8 m of green wool, 0,5 printed cotton for the outer, a lining of 0,7 m cotton felt and wadding.
Pattern: My own, but basically I just cut fabric in strips and pleated to the lining.
Year: 18th century
Notions: sewing thread
How historically accurate is it? The style is historical, but modern construction and on the inside it's all modern mateials so I would say 30%
Hours to complete: 5
First worn: As a petticoat on December 8th for a Christmas fair.
Total cost: stash project, but probably around $60 if bought new

Saturday, 2 April 2022

My Amalia Star Wars jacket

 My big plan for Star Wars Celebration 2022 was to make an 18th century ensemble out of a Knitorious Toile fabric. When I realized that I wouldn't be able to go to SWC I decided to make this outfit for my 40th birthday party instead. After some stress so I didn't have time to finish anything but the jacket at least it was done. I then went to the party, had a great time, and realized afterwards that I didn't have a single photo of me from the evening.

So here is the jacket instead on my dressform, which is totally the wrong shape to fill out an 18th century garment.


I used the Amalia jacket from Scroop patterns, but I didn't follow the instructions exactly. The instructions are for a very historically accurate, and I opted to use the sewing machine as much as possible. I also skipped the lining for the sleeves, I am not going to wear this jacket so much that I need to strengthen the sleeves, instead going for something with less layer to keep it cooler in the summer or at crowded conventions.

As usual Scroop Patterns have a lot of instructions on how to get a perfect fit. I found it hard to follow them all though, since they very much depend on draping the garment on your body. I can't drape on myself and my dressform is nowhere near my measurements when wearing stays. There were some fit issues due to that, and not because of the pattern.

One part where fitting on your body was necessary was the sleeves though. I have huge upper arms, and still the sleeves as made up straight from the pattern gave me a big puff sleeve.  I followed the instructions and smoothec and repinned the fabric over and over again though. In the end this is how much fabric I had to remove when the sleeve was attached to the bodice.


I could probably have removed even more, but I was in a hurry to finish it. Still it was great to follow the instructions, even if it felt wrong to remove so much fabric, and the upper arm still didn't get too small for me.

Monday, 21 March 2022

HSM22: Challenge 11 - fitting. The 1780s stays

 It took a lot longer than planned, and in the end I hurried them, but I did finish the 1780s stays.


One thing that stalled me was when I couldn't find eyelets with washers in the right side, so I had to handsew the lacing holes instead. Now here I should say that I deviated fromt he instructions and instead followed the instructions from Scroop Patterns Augusta stays, which have instructions for making historically accurate stays. It gave me the confidence to make the lacing holes and that they would be strong enough to hold for the lacing. The stays were then boned with synthetic whalebone, I was lucky to have a roll of it at home and it was just enough to get the stays and the stomacher boned.

I wore the stays at party on Saturday, where I managed to get from the party without a single photo of me in costume. While wearing them it was obvious that they were too long for me, they kept poking me in my armpit. 

It is possible to see the foldlines. Before wearing them again I need to cut the stays down to the foldline and rebind them. One good thing with the plastic boning is at least that it's easy to shorten them.

Here you can see that one of the bones even poked through the fabric.

Overall I am happy with the pattern, even if I need to adjust them. There were some instructions that were really helpful, like how to bind the tabs by machine, while others were a bit unclear. I did also use the Augusta stays instructions when I felt that I didn't quite understand or had the ability to use the pattern. I'm hoping that with some tweaking at the armpit they will become a pair of comfortable stays.

What the item is: A pair of 1780s stays
How it fits the challenge: Stays need to fit well, and they are necessary for the clothes on the outside to fit as well. This pair of stays show that a small miss in fit can be really bad. I tried them a lot when making them, but when I finally wore them for real they were too long and poked me in the armpit, so in the end I didn't wear them for the whole party I had made them for. So fit is important, and this is a reminder to not rush in the end, or think that "it won't be too bad, I will be able to wear them and then go back and fix it". 
Material: 1 m cotton twill, 1 m coutil, 1 m floral patterned cotton
Pattern: Redthreadeds front lacing 1780s stays
Year: 1780s
Notions: plastic boning, cotton bias tape for binding, sewing thread
How historically accurate is it? 50% 
Hours to complete: 1,5 months
First worn: at a party on March 19
Total cost: around $120


Saturday, 5 February 2022

Back to the 18th century

 It is time for me to return to the 18th century. I haven't done anything since the Lady Poe gown, and already when doing that I realised that I needed a shift and a new pair of stays. Now my pair of stays works for the mid 18th century, but I have always loved the later 18th century silhouette, and the only stays I had for that was my Desert Rose stays. And they were done when I was at my tiniest, so I was able to wear them twice before I started gaining back my weight again.


This is my start. The mound of fabric in the lower right is a new chemise. I have sewn it together and is working on felling the seams before hemming  everything. This is a project that I will bring with me to our cosplay meets on Tuesdays since it's a simple thing to just sit and handsew and talk.

Then it's on to the stays. Together with my weight gain I have also had a lot of issues with my shoulders the last few year, and now it is impossible for me to lace up a corset or stays in the back. I need a pair of frontlacing stays. I decided to buy the Redthreaded 1780s front lacing stays instead of fiddling with drafting my own pattern.

For the stays I'm doing more of a theatrical than historical constructions. I'm using coutil as the strength layer. My original plan was to use linen or cotton canvas, but I couldn't find any in my stash. Since I had to order fabric and the place that I ordered from had a sale on coutil if you bought more than 3 meters I decided to use coutil, and buy enough of it so I can make the 1910s corset that I will need to make later in the year. Here is a big difference from the last time I made corsets or stays, brexit has made it hard to order from my favorite supply site, so I now have to go back to Swedish sites. The good thing is that there are now several options selling boning and corset fabrics in Sweden as well, which really wasn't the case when I started making corsets.

For the inner layer I'm using a sand/grey cotton twill from the stash, and since I want my stays to look good I found that floral cotton in the stash as well. It's not 18th century, but I go for cute rather than accurate with the stays.


Tuesday, 23 March 2021

HSM21 Challenge: Zero waste - the jedi petticoat

 After I had finished the faux jedi undertunic I realized that I had fabric left. I had cut the fabric straight, so I had one long piece. I have been thinking quite a lot about 17th century, but not enough to be willing to go all in for an historical recreation. Still brown was a very common colour. The linen/viscose blend that I used for the undertunic is really comfy, so I decided to make a standard petticoat out of it. It can work as an outer petticoat for simpler folk, or as an extra under other skirts.

The whole petticoat is made out of two square pieces, taking up the whole remnant of the fabric. The only waste was that little strip that I tore off to make sure that the fabric was on the grain. 

I sewed the pieces together at the sides and attached them to a piece grosgrain tape. I didn't have enough tape to be able to go all around me several rounds. The traditional way of closing a petticoat like this is to have one set of ties from the back piece that you tie in front of you, and one set from the front piece that you tie in the back. Well I only tied it on one side. 
I left a pocket opening on the other side, but the tape is not open there. Still it's possible to adjust the size waist with the tape on the one side.

The whole skirt is knife pleated. The side seams and the seam attaching the fabric to the tape is sewn on the machine, but it is hemmed by hand. 

What the item is: a generic 17th-18th century petticoat
How it fits the challenge: Made from a long piece of leftover fabric cut in two and pleated to fit, no fabric was left afterwards.
Material: 2 m of linen/viscose blend
Pattern: no particular pattern
Year: 17th-18th century
Notions: 1,5 grosgrain tape, modern sewing thread
How historically accurate is it? The fabrics and notions are modern but the model is correct. So 50%
Hours to complete: 2, most of it for the hemming
First worn: not yet
Total cost: $20


Sunday, 7 February 2021

An historical jacket takes shape

After that evening outside some weeks ago I have continued to think about winter wear. I was warm and cozy in all my layers and with my cape, but would it be enough if the temperature dropped even more. Right now the temperatures around here is around -10 Celsius, as compared to just below freezing on the evening I was out. Also I love my furlined cape, but if there was one place I felt a bit cold it was my arms, so it would be nice to have an outer garment with sleeves. Thankfully there are a lot of images of jackets.

I would really recommend reading Amie Sparrow's documentation of jackets worn by German peasants in the 16th century. There is a wide variation on jackets, some looser, some tighter, some with a waist seam and some without. 

Looking at the jackets without waistseam I really felt that this is a garment that you can see in many centuries, especially on working people.

This is from the print series Cries of London from the late 17th century

This woman is wearing a shortgown in the middle of the 18th century

I decided to make a jacket without a waistseam, and I would try to do it generic enough to be able to use it for several historical eras. It would be a classic time traveling garment.

Then it was time to go through my stash, and I still had a piece of wool left from when I made the cape. It was not as much as I thought though. I also felt that I wanted to line the jacket, since lined garments simply look better. It is a winter garment, so I didn't want to use linen. Linen can actually cool you down. The only wool that I had a lot of though was a fairly modern wool in speckled grey. It was a mistake buy, I thought it would work for TLJ Leia from the images online, but it didn't. Still the speckled grey was quite nice, and I figured that it wouldn't look too out of place in an historical context. Since I would not be able to use fabrics that were correct, I also decided that I would sew the jacket on the machine. Then the next thought came to me. What if I made the jacket fully reversible? The speckled grey wouldn't look too bad in a 17th and 18th century setting, where black and sombre colours were preferred by the upper classes in my town. Well then it was decided. A fully reversible jacket without waistseam, sewn on the machine.

For pattern I started with my latest 16th century bodice pattern, but that was for my tight 1520's court gown. Since the jacket would be worn over a lot of layers I simply added to it. I mainly used the shape as a guide and then drew the pattern. To still get a bit of flare over the hips I looked at patterns for 18th century jackets to see how I could make an integrated pleat. In hindsight it would have been a lot easier to just flare the pieces to create the skirt portion. But hey, why go for simple when you can do complicated.


The pleats were integrated by flaring the center front and center back seam. For the side pleat I made a square extension. Now I had a very limited amount of the pink wool fabric, so the length of the jacket was decided by that. I would have loved to make the jacket go down to midthigh, now it ends at my bum. Also the limited amount of fabric force me to winge some of the cutting lines, they are not totally straight, and I had to adjust that after I had cut all the pieces out.

I should also say that I was too sloppy with this pattern, the armscye ended up way too large. In order to take it in I had to lift take away a lot of excess fabric at the shoulder. With my limited amount of fabric that meant that I lost several cm that I would have loved to have added to the overall length, it also meant that the front piece got a bit too tight over the chest. I really shouldn't cut out patterns and do sewing when my blood sugar is on the edge of dropping to low. I get unconcentrated and irritated, and also take bad decisions, like continuing even if you feel that you should take a break and eat something.

Anyway. Before I started to sew the pieces together I finshed the side pleat on each piece. I've always been a bit confused on how to make the pleats, but this is what I did.

I start with cutting into the bodice. Just a straight cut at the waistline.

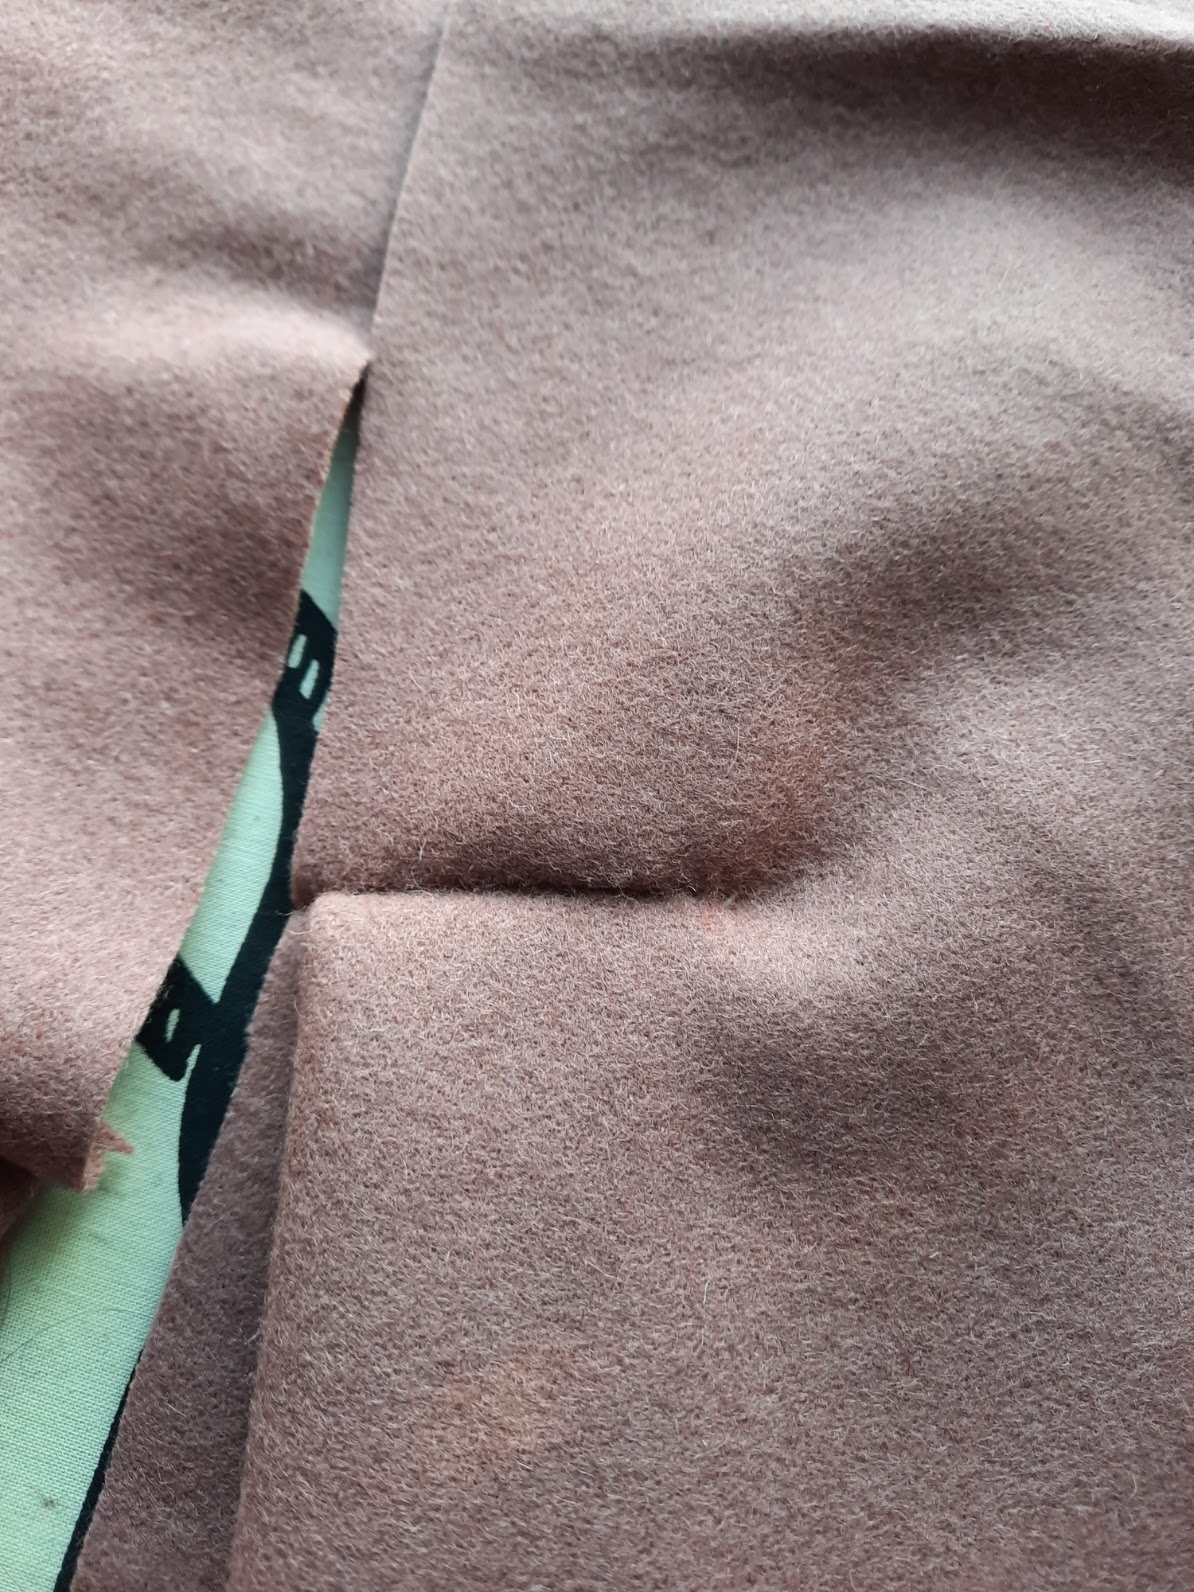
I then fold the excess fabric under the cut, this creates the pleat.


I sew the cut in the bodice together, catching the pleated fabric as well, I sewed the seam with backstitches and then I whipstitched the edge to give it more protection.


This is what the pleat looks like when it's finished. Then I just sewed the side seam as usual.

I sewed two layers of fabric as separate pieces, so in the end I had two identical jackets, a pink and a black one.

To be continued...


Monday, 22 June 2020

Repairing Lady Poe for work

Sometimes I think about how I started as a costumer, and how important it was for me to not start another project before I had finished the one I was working on. That's not exactly the case anymore. I would also say that with more historical wardrobes I have found more opportunities to wear them and that means that I keep doing smaller projects while working on my main one. So I have finished the lacng holes for the sleeves of my court gown, but this weekend instead of finishing the sleeves I brought my Lady Poe down from storage.

You might remember how all the trim frayed liked crazy and I felt it was a bit of a disaster when I wore it for the ball last June.

This was the state of the trim, and I was spreading silk everywhere. Now I went over all the edges with my pinking shears again, but this time I painted all the edges with heavy starch. I made it from 1 tablespoon of potatoe starch and 400 ml of water. It was a gooey mess, but I painted it on with a brush, and the day after I pressed it.

This is the new trim edges. They do still fray a little bit, but it's not a disaster. I probably need to go over all the edges when I'm going to wear it and make sure that there are no loose threads that can start to unravel. The trim feels very papery, but there are no stains from the starch on the silk.

For fun I diluted the heavy start in more water and also starched my smallest cap, a petticoat and linen veil with it, just to see what would happen. I love the feeling of the starched petticoat, so I think I need to go over all my petticoats and starch them from now on

Why did I do all this? Well at work we needed to do a fun thing for social media about the middle of the 18th century, and of course I volunteered to dress up apropriately for the time period. It was also a chance for me to get photos where I'm standing in a place that's normally closed off.


For my hair I took the time to sleep on pin curls for the front of the head, but the back was just allowed to dry naturally. I then used cold cream and hair powder and made a tete de mouton hairstyle. The back hair was just braided in two braids that were looped up, and all the hairpins are hidden under the cap.


The social media thing will go online in the end of June.

Sunday, 1 March 2020

HSM2020 challenge 2 - re-use

For the longest time I didn't have any inspiration for the HSM challenge 2 - reuse.

Use thrifted materials or old garments or bedlinen to make a new garment. Mend, re-shape or re-trim an existing garment to prolong its life.
Then I got an invitation to a masked leap year ball. Now it's been many years since I've been to a ball, and I knew that none of my ballgowns would fit me, I needed to come up with something. What I do have is my 18th century stays, that are of silk brocade, I also knew that I have a matching skirt to it. The thing with the stays though are that I would need something to wear under them, both or comfort and because they end at nipple height and I didn't want to have any malfunctions. I went up to my storage and found the shift that I made for my Tudor Leia.


Since it's not up to my current standards for 16th century shifts I decided to turn it into an 18th century shit instead.


I was surprised that I had some nice handsewn hems on the sleeves and the smocking at the neck, but still I prefer my newer shifts.

What I did was that I simply cut off the collar and removed the stitches at the cuffs.


I made a simply drawstring casing for the neck, and let the cuffs be ungathered. I did it all by machine. In my mind I turned a totally fake 16th century shift into a slightly more accurate 18th century shift.

Sorry for the blurry pick, but it best shows off the shift
When I tried the stays on I also realised that I couldn't close them totally in the front, unless I was willing to break some ribs. In order to make a quick stomacher I actually used a pillow case from cushions I have in my soa.


The fabric had started to unravel, but the colour was a perfect match for the stays. I ripped upp the pillow case (making sure to save the zipper) and then cut out two triangular pieces from the middle of the pillow case, where the fabric wasn't quite as worn out.


I put a layer of cotton/linen drill between the outer fabric to make it a bit more sturdy.


The pillow case was also big enough to supply fabric for a new waistband for the skirt. The skirt isn't historical, but it's a great example of reuse. It was sewn up by my sister as a cocktail gown for our mother in 1993, in 1997 the hem was let out and a ruffle added so I could use it for prom. Then we realised that I couldn't wear the bodice, since my mother has curved spine, so for one of my first balls at university the bodice was cut off (some of it is in the pair of stays) and an elastic waistband was sewn on instead. Now when I tried it I couldn't get the waistband pass my hips, so I took it off, made a new one and regathered the skirt to it. So the skirt is in it's fourth or so configuration and has passed 25 years of use.

The items - A stomacher and a shift

The Challenge: February - re-use

Material: 1 poly satin pillow case, 15 cm of cotton/linen drill, 1 old cotton voile shift

Pattern: None, both were free-handed

Year: 18th century

Notions: A poly satin ribbon for th neck drawstring

How historically accurate is it? 10%, there is some handsewing on the shift, but most of it is sewn on machine. The pattern for the shift and the stomacher are accurate, but the materials are not.

Hours to complete: 1 hour

First worn: February 29th for a leap year ball

Total cost: Really everything that I reused was so old that I have no idea what it would cost today, maybe $10 for a new pillow case.

Saturday, 14 December 2019

Fake it 'till you make it part 3

For the men at the Christmas fair I had to fake it, for the women it was easier to make historically plausible clothes.

I spent most of my time with the costumes sewing skirts for the staff at the entrances. I made the basic 18th century skirt that you tie around your waist, since that makes it easy to adjust them. I also made the skirts fairly wide so that they could wear thermal trousers under them. All in all I made 15 skirts. They are sewn on machine and quickly gathered to a waistband. The wool for the skirts didn't fray so I didn't hem them either. The men working had a cloth tabard, from the museum storage, and dark clothes, and then we also provided caps and scarves for them to wear. The aim was to get a generic late 19th century vibe.


One thing was evident, that I haven't really thought about. It was easily visible who felt comfortable in their clothes, and who felt strange and dressed out. That is also important to remember when working with a lot of extras. The body language can also give a lot to the authenticity, if you can believe that the person wearing is from another time period just from they way the move and stand. For many of the women working at our fair it was clearly unusual to wear a long skirt and walk around in it the whole day.

For the dramatizations we did I played the female characters. And for our poor working woman I would say that those clothes are not fake, they are quite accurate, even if I ended up with a bit more 17th than 18th century.

I'm wearing a simple skirt, a linen apron and a mid-17th century cap. The jacket is a shortgown based on a preserved shortgown from Visby from the middle of the 18th century. That jacket is made to be worn over pocket hoops, so for this version  made it narrower, I also made the sleeves slightly larger. The shortgown is sewn on machine. The only fake thing is the scarf that I wore, but it was cold and I needed something warm around my neck. Overall this is a look that I feel confident in that it is pretty accurate, and not just plausible, for a simple woman in the late 17th and early 18th centuries around here.

The other character was the landlady of the tavern. I needed to make her look like she's from a higher social status than the poor woman. Here I totally mixed what I could use. 


The foundation garment is my 16th century mustard kirtle, I wanted to give her more colour than the greys and browns of the poor woman. The jacket is a grey jacket from the costume storage. The pattern is nice, but the fabric is dreadful. It's ok from a distance. I added a white neckerchief and a white apron for her. I had planned to use a silk cap to cover the hair, but we had a heavy and wet snowfall on the day of the fair so wearing silk outside was out of the question. I stuck with my 17th century cap, but for her I tied it further back to show a bit more hair than for the poor woman.


The rolling pin is there because I've had to chase out one of the customers of the tavern with it.

Wednesday, 11 December 2019

Fake it 'til you make it part 2

Something I can recommend for any museum is to reach out to historical costumers and recreators, are they willing to come and help by showing up in costume? This year we had decided to stage some historical scenes set in 1719. I reached out to my colleagues in Sala, the ones who invited me to my very first 18th century event, since I knew that they are actively working with recreating the 18th century. December is a very busy time for them but two of them showed up in costume.

The man's outfit is based on a picture of a map from 1683, and that is a picture I had as a reference as well when I wanted to create a working man's outfit for the late 17th and early 18th century.

The other reference is the woodcut of Fet-Mats Israelsson, who's the reason we had picked the year 1719 for our dramatizations.


I am pretty happy with the costumes that I managed to fake for "our" characters


In Sweden we don't have any webshops that sell 18th century clothing, but we have a lot of viking/medieval shops. Our miners are actually wearing Torsbjerg-trousers, since they were the best wool trousers we could find. To simulate the trousers being breeches they wore either knitted legwarmers or wool legbinders (also viking but it looked good).The vest is from our storage, and it's really nice with proper copper buttons. It is winter though, so they needed some kind of jacket. I made a very quick unfitted jacket, that was basically just a fabric folded double and cut in a T-shape. I then cut off the sleeves so I could make them a bit more shaped and slimmer, and sewed them on again.

The least accurate costume was for the head administrator. Already when we started planning the dramatizations I said that we would not be able to make or buy an upper class outfit. Everything was resolved when we were told that we could borrow a costume. Phew! Then one week before the fair it was clear that we would not be able to borrow the costume as we had thought, so I had less than a week to come up with something.  Based on the portrait of the head administrator I decided that we needed to get some things done so that people only saw the focus details, and not the rest of the costume. I decided that a wig and tricorn hat, a cravat and a vest in a bright colour would make him stand out against the workers.

I have described the work with the wig here. It is a cheap party wig, sprayed white and powdered. For the vest I found a remnant of fake damask fabric in our storage and made a very simple pattern for an early 18th century vest.

I didn't have enough fabric to get it quite as wide in the skirt as I had hoped. I also found some gold braid, and since this vest was a 2 hour job on Friday afternoon I really cheated. Instead of hemming the vest I just zigzagged the edges and put the trim over it to hide the stitches.


I actually think it looks best from behind
 There was just enough trim that I could also take one of our black round hats, apply the gold trim and turn up the brim to create a tricorne from it. The trousers are simply called "fantasy" trousers, that we had in storage, and he brought his own jacket. The jacket was quite short though so he chose to tuck the vest into the trousers to make it even with the jacket. To finish it all off he wore one of my linen veils as a cravat.

accurate, fake, plausible
I must say that in the end it looked fairly good, as long as you stood some distance away.

The drama is in full swing - Fet-Mats has been found after 42 years.