I am the kind of person who just can't handle contact lenses, last summer I tried and tried, but apparently one of my failures in life is that I just can't get them into my eyes, and my eyesight is such that even when I could get them in I couldn't see good, just better than withouth. Meaning I could just handle a phone with the lenses in, but I could not drive with them. So I decided that it wasn't worth the frustration, and the money for buying lenses, and I have to go with glasses, and be half blind when in costumes where the glasses don't fit. Since I am also too cheap to buy corrective sunglasses I felt that I needed a summer hat this season to get some shade. Over the years I have loved big summer hats, but to be honest they get lost, the blow off or I simply don't use them because they are too big. I needed something smaller and softer, but I didn't just want a bucket hat. Well I decided to make a hat and went to search for a pattern online.
I found this pattern from
Notches Sewing studio on Etsy. Etsy today is unfortunately full of AI slop and it important to go through the profiles and see if you can find a real person behind the store. This pattern was a bit more expensive than the cheapest patterns, but I liked that it was more than a bucket hat and the fact that there was a youtube tutorial showed me that a real person was behind it.
For fabrics I went into a local op shop and found some cottons, including two curtains with some stains on. I couldn't really decide on what I would do, and since they cost a total of $10 I bought all of them. I had to buy 1 m of medium weight interfacing, but that was just enough for both hats. In total material and patterns costed around $40, and the fabric I have left will be great to make toiles out of.
My first colour choice was this blue version. The blue was some kind of poly/cotton sateen, with quite a nice shine to it.
A downside was that it felt quite paperly and crumpled quite a lot.
The pattern is marked as beginner/intermediate. Now there are no written instruction, just the youtube tutorial. It is an easy pattern, and for me it would have been nice to just have some written instructions so I didn't have to stop and play the video all the time. The second hat I made I didn't have to follow the video at all though.
The pattern is one size, and it fit me really well, I think I am normally a size 56 in hats, I have quite a medium sized head.
The pattern is easy, but it is a bit fiddly. In order for it to look good you need to be comfortable with sewing round pieces to each other, and to make topstitching. It is optional to top stitch the brim, but it really helps to make the brim steadier than when just relying on the fusible interfacing. I found it was quite wiggly to attach sew the pieces together when I was working with several pieces that were interfaced. Not hard, but wiggly and fiddly.
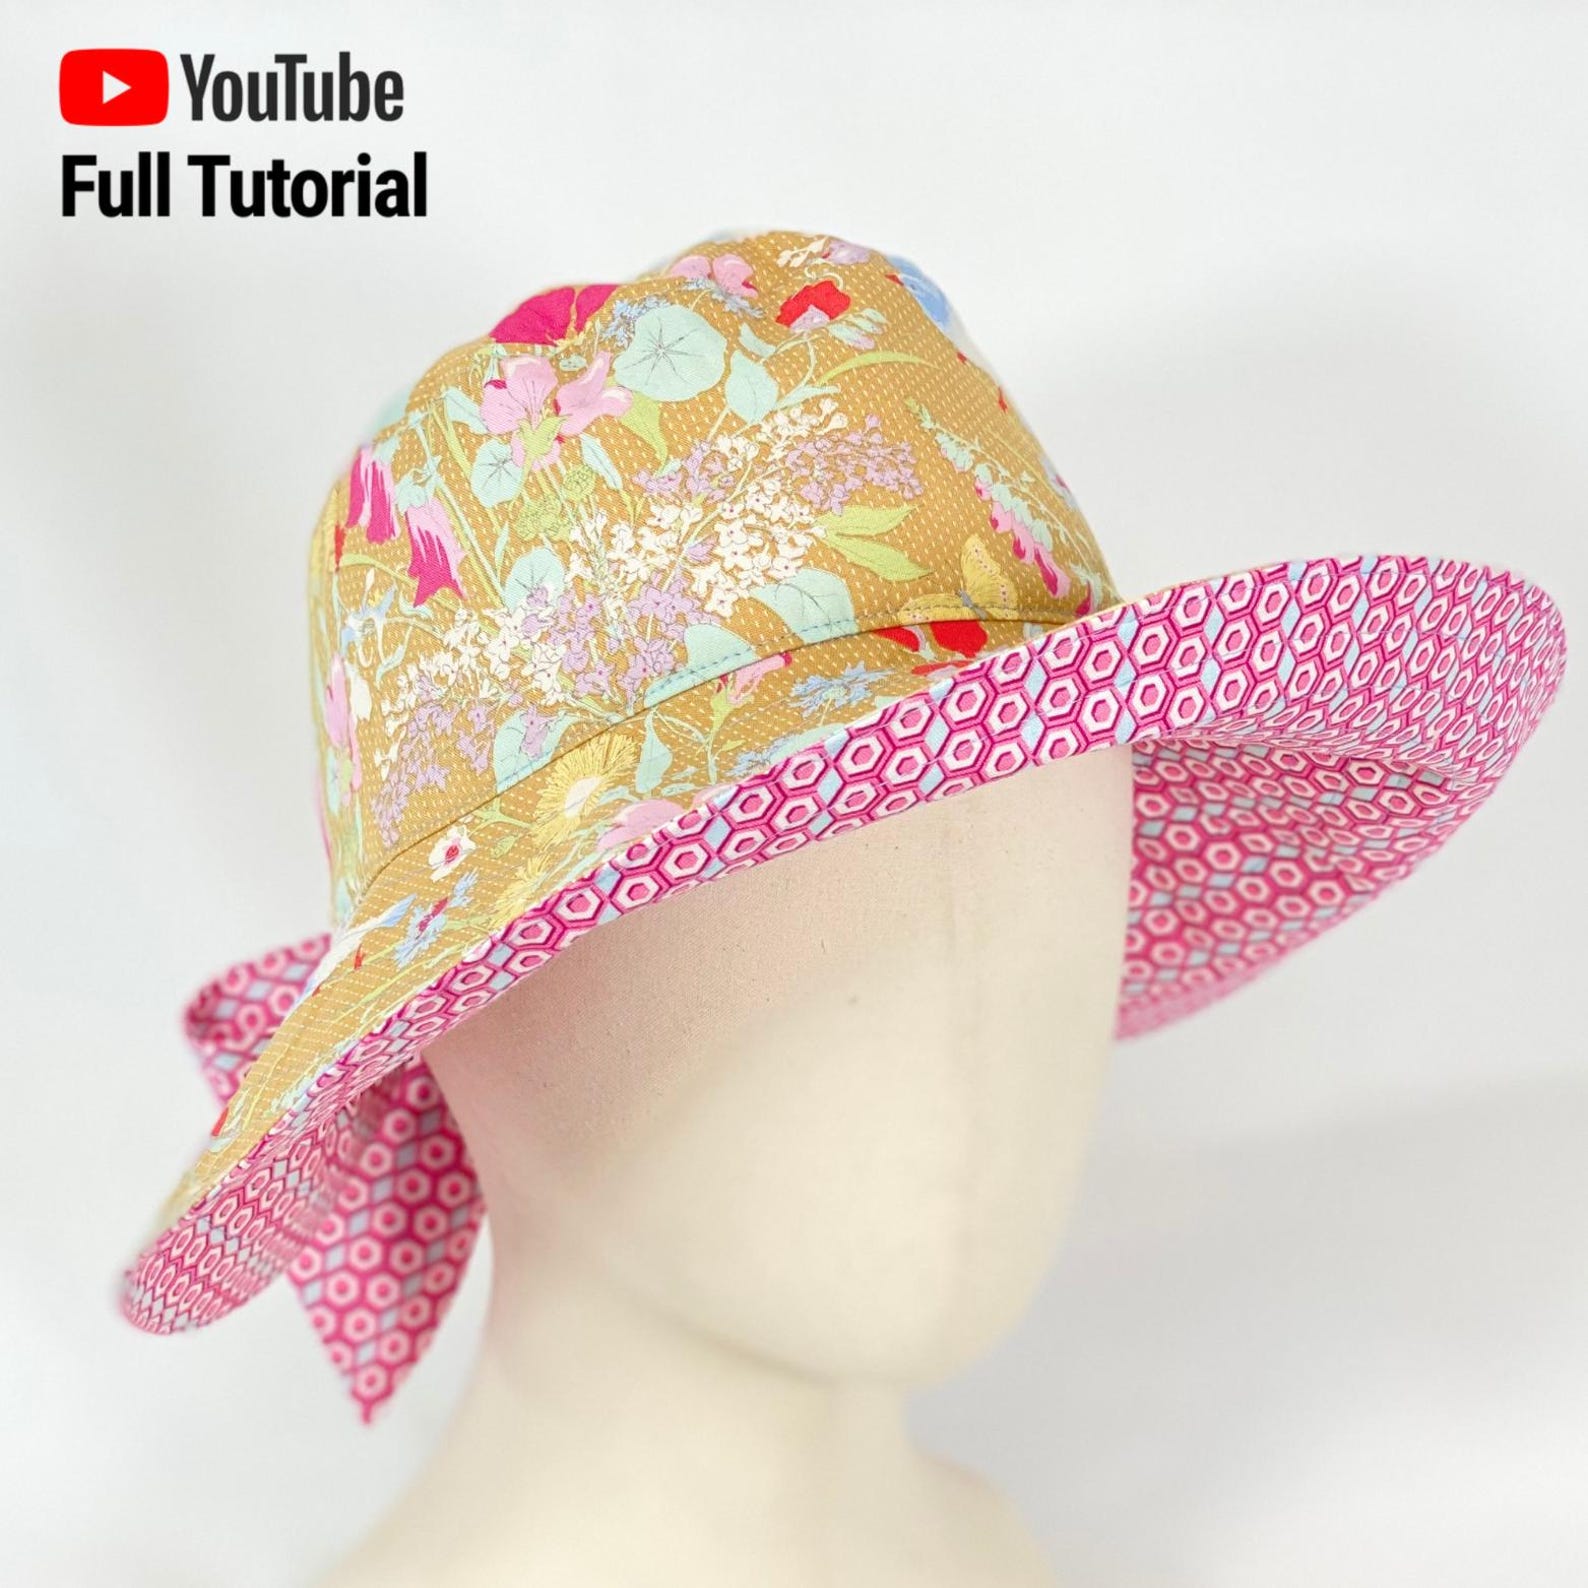
The other hat I made was in a more subdued colour palette, with a sandcoloured outer fabric, and a softer lining. Now the hats are reversible so it is possible to just turn them inside out if I want the flowers on the outside. The brim is steady enough with all the top stitching so it is possible to shape the brim and it keeps that way.
And this is the size of the hat on me, and not on the tiny styrofoam head.
Now I have to summer hats, and it took me one evening and one morning to sew them together.