Also the pattern I've used for the skirt was me testing a pattern that I want to make a skirt for myself for the wedding, so it didn't feel like I was wasting time doing a challenge. Lastly it's actually been really relaxing to make a simple pattern in fabrics that behave nicely, and it was a good thing to make me remember the pure fun of sewing.
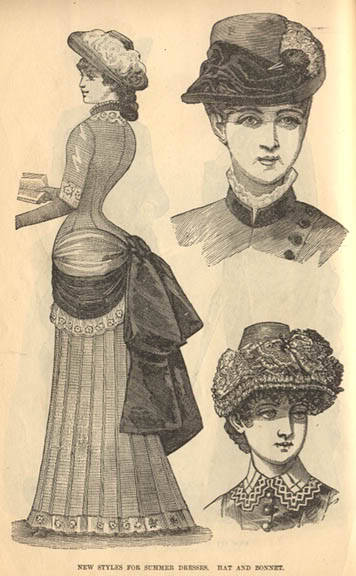
I didn't have enough fabric to make a very wide skirt, and even though the pencil skirt would come later than 1945, the cut-off date for HSF, there are examples of slim skirts from the 1940's
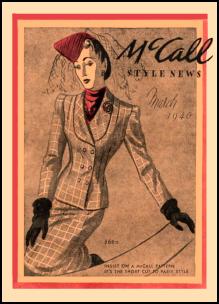 |
| McCall 1940, it's even plaid |
 |
| Du Barry, 1945 |
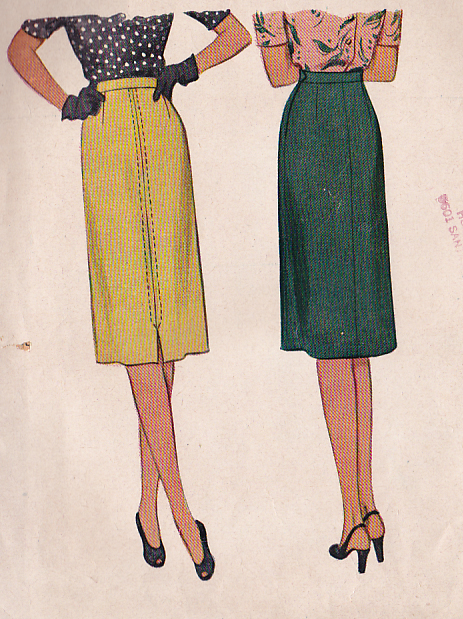 |
| McCall's, 1945 |


The Challenge: 14 Paisley & Plaid
Fabric: 70 cm blue/brown plaid wool, 70 cm poly lining, 5 cm brown wool blend (waistband)
Pattern: Butterick 4451
Year: 1945
Notions: regular sewing thread, zipper
How historically accurate is it? I really don't know, since I've never really researched vintage sewing techniques. The lining is poly, but except for that everything should be period correct, so maybe 80%
Hours to complete: Two evenings
First worn: Not yet, we are in the middle of a heat wave so not really the best weather for a wool skirt
Total cost: The lining, $6, the rest from the stash, the wool would probably have been quite expensive back in the days though so I'm not counting this as under $10.
What I learnt with this projcet
This project was a simple one, but now I've found a skirt pattern that I really like so I'm pretty sure I'm going to use it for more skirts in the future.
Future plans
I probably have enough of the brown wool I used for the waistband to make a jacket, I've also saved the scraps from the plaid fabric so I would really like to do a matching jacket with plaid details, I'm not sure if I'm going for a vintage style or more modern style for that though.
I'm definitely going to use this skirt for work as soon as the weather gets colder.