Showing posts with label hose. Show all posts

Monday, 18 August 2025

HSM 2025 - Challenge 8 - Make do and mend

 As usual I come out of the summer season having produced things that I realize can fit with the HSM challenges. 

August: Make Do and Mend (2014, 5 th most popular): Get your historical wardrobe in order by fixing/mending something that has worn out or gone wrong. Alternatively, you could focus on the historical precedent of making-do by re-making an old garment or remaking something into a historical garment (ex: a chemise from old bedsheets). 


For this project it was time to fix my husbands landsknecht trousers, the short hose. 


 I felt from the start that they were a bit too baggy, I wanted them shorter and tighter.


I started with simply cutting off the lowest row of pieces. In the front that went well, in teh back I had to cut through some of the pieces. HEre you can see the shorter linen lining peaking through as well.


This was the result after cutting out and evening out the hose. I thought they looked perfect, but my husband complained that they were too short. He wouldn't be able to wear boxers under them, and he was not happy with my suggestion to buy briefs instead. ;) Well to make him more happy and comfortable in his new hose I went to look for some inspiration. 


This woodcut from 1510 has a a pair of nice short hose with a daggered hem to them. That is not something I have seen on many people, but I thought it would be a cute and fairly easy way of lengthening the hose.

I took the cut off material and I managed to  cut them into daggers.

I had to do some fiddling at the crotch. The hose had also split there so I needed to add a gore to make them larger. For that I had to use another piece of red wool, since I was out of the original, but piecing and mending is definitely accurate. 

To cover the seam between the square pieces and the points I tacked a grey wool ribbon over them. I didn't have time to do anything more. I do have a plan though to cover all the places where the seams meet up with bows, since I think there are not enough bows and rosettes on landsknecht reenactors.


The HSM facts

What the item is: A pair of short landsknecht hose
How it fits the challenge: I remade the first version into a more sleek shape
Material: The old pair of hose, 30 cm of new wool fabric
Pattern: Inspired by a woodcut from 1510
Year: 1510s
Notions: linen thread
How historically accurate is it? The hose with the square pieces are a mix of two images, one with the rectangles and one with the daggered hem, but still around 90%
Hours to complete: 10
First worn: At Medieval Week in Visby 2025
Total cost: $10 (the new fabric, I bought a meter even if I just used a scrap of it)


Sunday, 14 May 2023

HSM2023 - challenge: reality is unrealistic

 I don't have much time for sewing anymore, but with a huge event coming up in the end of June 2023, where I'm in the planning committee for recreating the 500th annversary of Gustav Vasa's victory celebration in Stockholm together with 250 reenactors I am now up to my neck in projects. I have promised to make a peasant outfit for a good friend, my husband needs to get a doublet and hat, and fix the last things of his joined hose, and I want to finish my pink gown and add a new shift, partlet and hood for myself.

For this challenge I go to the peasant outfit for a friend. He doesn't live where I can do any fittings, so I needed something that was easy, and not  depending on exact fit. For this challenge I will turn against the view of peasants from other reenactors. When going to reenacting events you only see tight hose for the men, and there is a strong backlash against "LARP pants" which are usually baggier and more like pyjama trousers. Now there are actually a lot of evidence for peasants wearing trousers that are very much like those. Instead of pretending that it is my own research I will guide you to this post by Marlein made it - Swedish 16th century trousers

For the pattern I used the pattern that Marlein has made, and then given out to some other friends. It is made from 3 m of fine wool.

Now I didn't know what size the pattern was in, and the person I borrowed the pattern from said that she had had to enlarge it to fit the person she made it for. So I added a generous seam allowance. I then sewed it together by machine. The person I am making this for just want to use them for one event, so I don't go for perfect historical accuracy here.

Having sewn them together I realized that they were huge. So I sewed a couple of seams further and further in.

This way when the person gets the trousers. If they are too tight, he can unpick the tightest seam and use the next, and when he is happy he can just cut away the seam allowance, since the wool doesn't unravel and doesn't need to be finished.

To keep the trousers up I made a lining and two handmade eyelets that he can tread a ribbon through. If the lining is too big he can also pull a ribbon through it like a drawstring.

What the item is: A pair of peasant's trousers
How it fits the challenge: Medieval reenactors think that all peasants were tight hose, but in the end of the Middle Ages there were baggy trousers as well
Material: 3 m wool
Pattern: Made by Marlein made it
Year: Early 16th century
Notions: sewing thread and linen thread for the eyelets
How historically accurate is it? 60%, correct fabric and pattern but I sewed the seams with a sewing machine
Hours to complete: 4
First worn: not yet
Total cost: $80 (good wool is expensive)


Friday, 10 February 2023

Sewing the joined 16th century hose

So I had a pattern, and now it was time to cut into the main fabric. It's a olive wool twill and I cut them out on the bias. When cutting the pattern I realised that it must be way larger than I though. My husband is generally medium sized, and I still couldn't get the pattern to totally fit on the 3 m of fabric that I had.

I didn't document this process a lot, but I pinned the hose together, and then I repinned them until they were tight. In total I could cut away around 10 cm of fabric before they were snug. I don't really have an ambition to make totally historically accurate hose, so I then used the machine to tack them together. And that was good, because when we fitted the tacked together hose they were actually too tight. So I made a new seam and unripped the old one.

Before making the final seam I had the husband squat down and do a lot of movements to make sure that they were snug, but not too snug. I did make the final seam by hand. A handsewn seam made with linen is weaker than a machine sewn seam with modern sewing thread, and I wanted the seam and not the fabric to rip if it turned out that they were too tight.

For the waistband I sewed a folded piece of the wool to the top of the hose, but I also strengthened the waistband with a piece of heavy cotton. The hose were held together with a piece of tape that is threaded through the waistband.


By now I was a bit stressed to finish the hose, but I made a codpiece according to this tutorial. 


The tutorial said that it should be stuffed really well, but lets just say that my husband laughed a lot when I pinned it on. I didn't have time to attach it permanently, so I sewed it on at the bottom and used safety pins for the top. I will definitely remake this, because the flaps that attach to the hose are too small, and yes it might be a bit too large in other dimensions as well.

In hindsight it was a good thing that it wasn't permanently attached when we went to the feast. Because when my husband sat down, the hose ripped. At first I thought it was only the seams around the codpiece and crotch area, and I was glad that I had chosen to handsew them, but it also turned out that the fabric had ripped as well. Apparently they must have been too tight, even if we had tried them on so many times.


Sunday, 8 January 2023

Making a pattern for 16th century joined hose

 In about two weeks our 16th century guild has one of its annual feasts and for the first time in a couple of years we can be inside! I felt that this would be a good reason to finally make David a proper pair of joined hose.

Joined hose is when the hose has taken a step towards being a pair of trousers, they are connected in the back and there is a crotch seam, but the the opening of the hose is covered by a codpiece instead of a closing fly.

A main instriped (and tight) joined hose

Now me and David had discussed if I should make a pair of peasant trousers, which are much more like modern trousers and do not have a cod piece, or a tight pair of hose. Well me being at home with access to the internet, but not the pattern for peasant trousers, decided to go for the joined hose.

Now there are lot of tutorials out there if you search for "landsknecht hosen" "joined hose" or similar terms. Most of them give a picture that is quite confusing, if you like me have never done hose before, and without any measurments or angles to go for. Another common theme to make hose is that you cut up an old pair of trousers and use that as a pattern. I asked and David was not willing to cut up any pair of trousers.

In the end I based my pattern on this instruction, which is in German but thankfully that's a language I know, the instruction was most helpful once I had a pattern to start off from though. In order to get a pattern I found Morgan Donner's Mens' stirrup hose tutorial. She has made it into both a video and written tutorial, which I like. She also uses an old pair of trousers, but she just traces them she doesn't cut them up.

I started off with one of David's pair of trousers. I couldn't trace them quite as Morgan Donner had done, but I manged to trace them enought that I got a paper pattern to start with.

The most important thing for me was to get the crotch seam, or the U-shape correct, so for that reason I have not made this pattern full length,it goes doen to midcalf, for the actual pairs I will need to lengthen them.

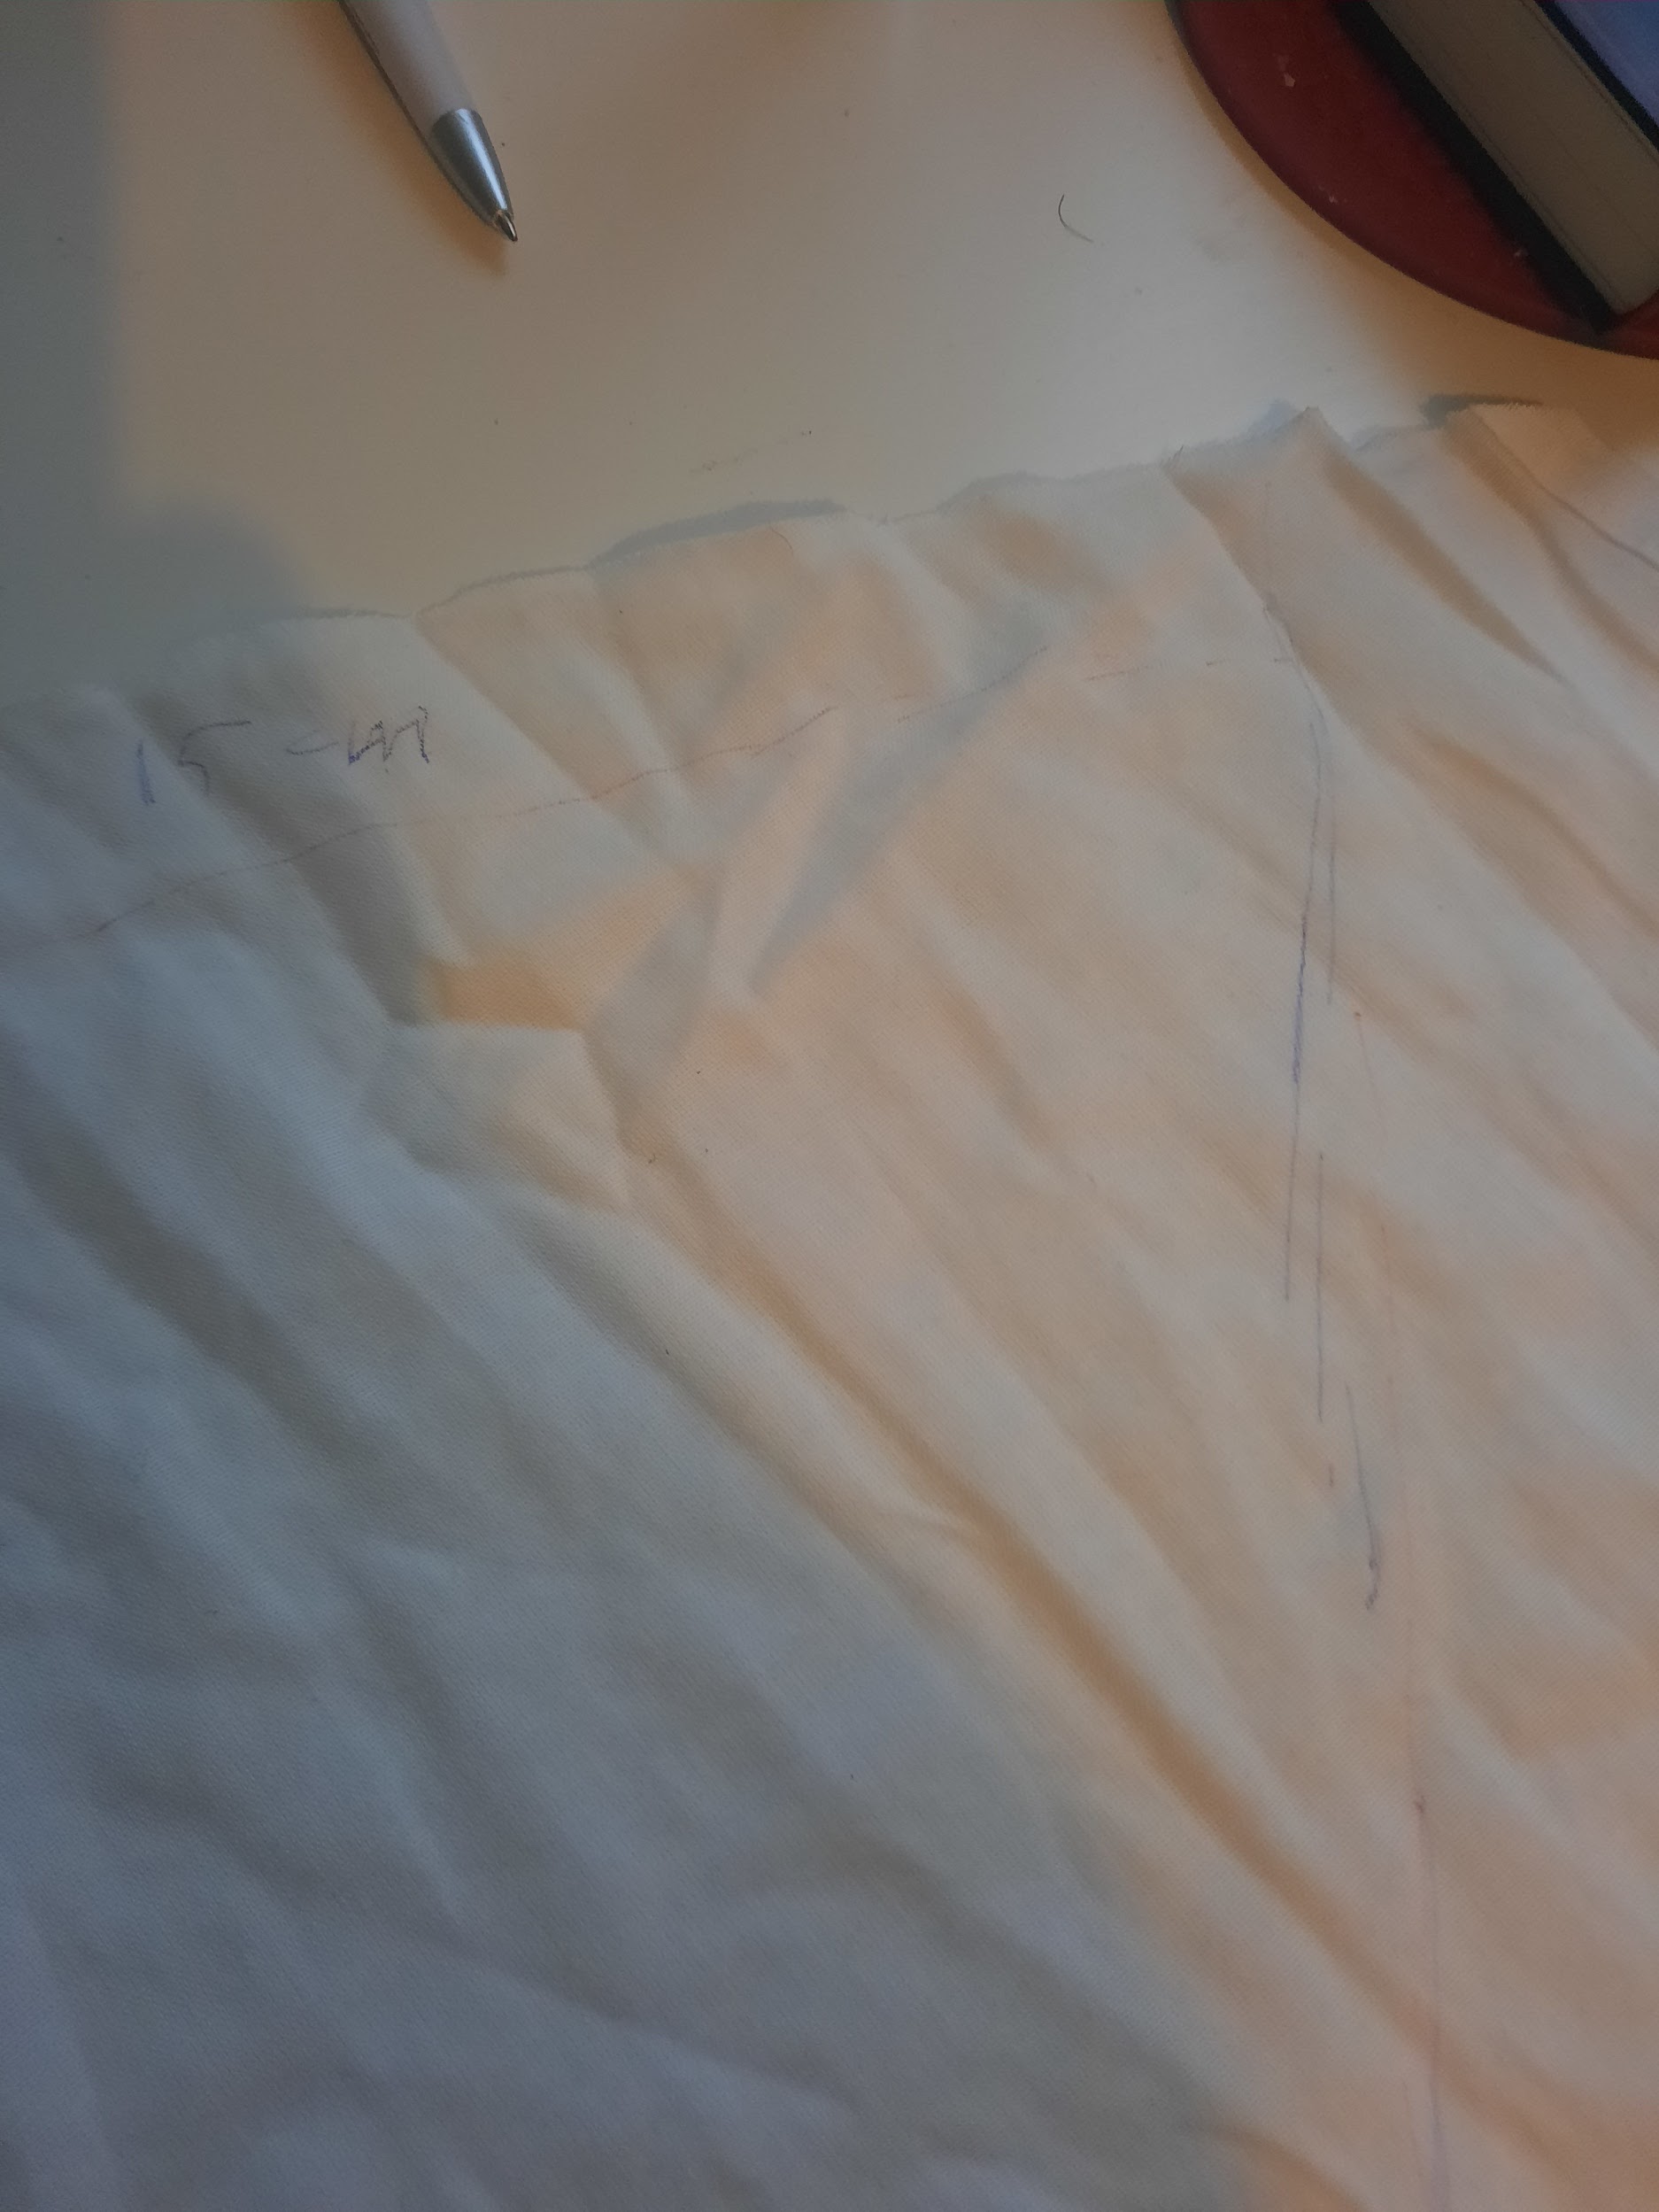
I transferred the paper pattern to fabric and added a lot of seam allowance. I made a quick fitting so that I could see what the pattern looked like. Since the fabric is very sheer and it involved David in his underwear I will not share any photos of that. As suspected the modern pair of trousers had a waist that was too low and they were generally too wide. I will lengthen the top of the pattern and I cut off the extra seam allowance, going back to the original seam line that I had made on the pattern.

I marked the pattern with the notes I will need to remember, and then I had a working pattern.

When cutting the main fabric I will still add seam allowance to the pattern, but so much, and it will need more fitting sessions to actually fit well. For David's sake I'm also not going for a very tight pair of hose, it will be ok if there are some wrinkles and loose fabric if that makes him more comfortable.