
This time I didn't do an apron for myself though. This is for a friend, who due to physical issues can't handsew. She's going to help me with some other things, so it will be an exchange of services. It also means that I had to keep proper track of how much money I spent and how much time it took.
For the fabric I used a linen from Handelsgillet.se which is unbleached and has the feel of being handwoven. I have bought more of it to make a shift for a working woman for myself out of it. For the apron I bought one meter, and then I cut out strips off the sides to create the waistband, but otherwise I use the full width of the fabric.
I started the project on a really cozy crafting evening at a friend's place. Where there were four of us sitting in a wooden loft and made 16th century stuff.

I started with hemming the bottom and the side of the apron, and then it was time to make the gathering stitches. I use a regular sewing thread in a visible colour for the gathering stitches. You actually don't need to be too fuzzy about the exact measurments for the stitches, but they need to be equal.

I prefer to make the rows of gathering stitches fairly tight horizontally, because then I can use the gathering threads as guidelines when working the smocking stitches. I usually do six rows, and I tie the gathering threads together in pairs, since that makes it easier to pull them later on.

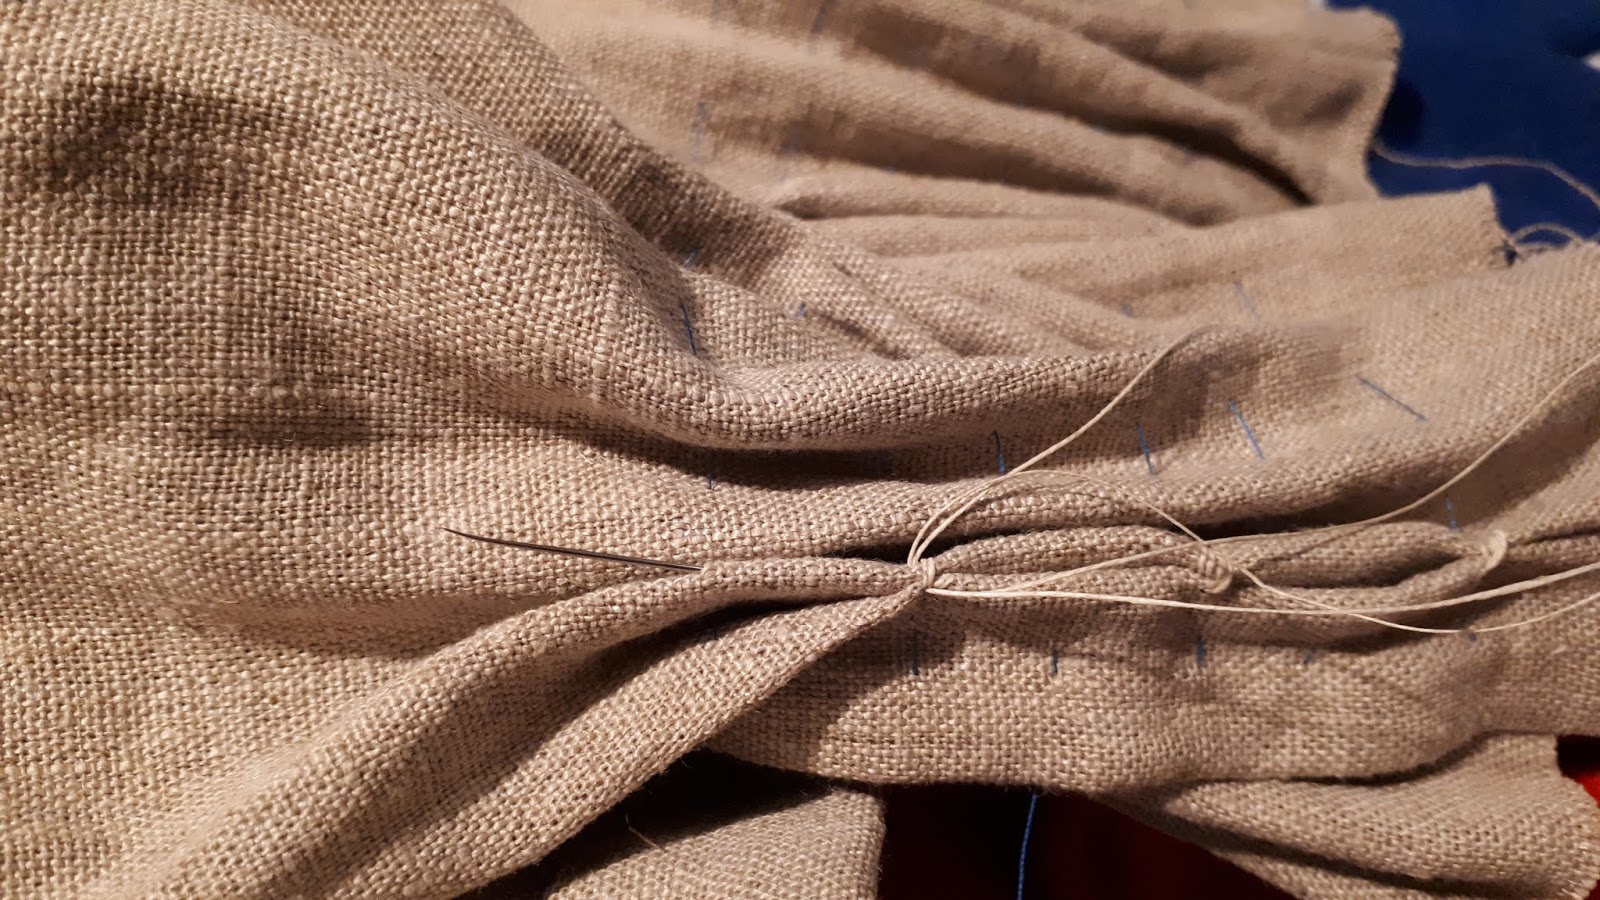
Here is the fabric with the gathering threads pulled together.

Now it's time for the smocking itself. I start at the top gathering thread, hold folds 1 and 2 together and do two to three backstitches to sew them together. Then I go to gathering thread number 3 and 5 and do the same thing. It usually looks a bit wonky at the start, but it will look better with more rows done.
On the way back up you hold fold 2 and 3 and make stitches at the 6, 4 and 2 gathering threads. The aim is to get rows of altrnating stitches that will make up the honeycome pattern.

Once you have gone the full width of the fabric remove the gathering threads and decided how wide you want the apron to be. The honeycome smocking is quite elastic so it's easy to adjust the size.


As for details, the theme of the challenge. Since this apron wasn't for my personal use I really took the time to be careful with the stitches. I'm happy with the smocking, but I'm even more satisfied with what you can't see. I managed to make the hems invisible from the right side, and the waistband is sewn together with tiny slip stitches.
 |
| Invisible hem |
 |
| The slipstitched waistband |
What the item is: a smocked apron
How it fits the challenge: All the tiny seams that are totally invisible, until you get really, really close
Material: 1 m of unbleached linen
Pattern: My own
Year: smocked aprons were used in the late 15th and early 16th centuries.
Notions: unbleached linen thread and wax for the thread
How historically accurate is it? As far as my knowledge this is as close as you can get the materials and patterns of the time, but since I'm not sure I put it at 85%
Hours to complete: 15
First worn: Not yet
Total cost: $22
No comments:
Post a Comment