 |
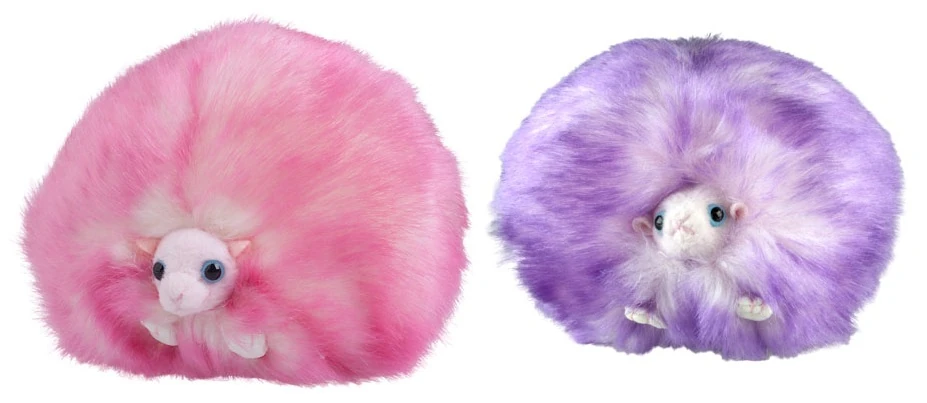
| Official HP pygmy puff toys |
I first cut out a circle in fosshape.
I made some gathering stitches in the fosshape and tightened them to make a rounded shape, I then heated the fosshape with a heatgun to harden it. The fosshape shrinks a bit when heated so you need to take that into account.
I used the same method to make a smaller rounded shape. This one was heated and stuck to the bigger shape as a snout, only using the glue that's in the fosshape itself. The ears were small wedges that were sewed on to the fosshape before heating it and the snout to make the whole face hard.
I cut out some small pieces to act as paws and painted it all in pinkish brown. I then sewed the face and the paws on to the main body. This was possible since the ornament was also soft. The thread that I used for sewing is hiddend among all the fluff.
Finally I glued a pair of eyes on to the face, where I had put the stitches that I used to attached the face. So the stitches are hiddend under the eyes. I used hotglue for that, since the surface of the face is quite uneven and I wanted a glue that smoothed that out.
I've kept the ribbon that the ornament hangs on. That way I can keep the ribbon as a strap and hold the pygmy puff in the hand and shake it as i it's moving, without throwing it away.
I've named it "Rosie the pygmy puff". Since "rosa" is the Swedish word for pink.


No comments:
Post a Comment