Wednesday, 12 February 2014

Getting dressed the 18th century way

Here is what I do when I want to get ready in my 18th century gowns. This is a series of photos I took when getting dressed in my Snow White costume.

Step 1. Put on the chemise, stockings and shoes. It's important to put the shoes on almost first, because when the stays are put on and laced tight it can be hard to bend down and fiddle with the fastenings.

step 2.
Step 2. Put the stays on, don't pull it so tight that it's uncomfortable.
step 3
Step 3. Fix the hair so it's ready. Also if you have worn the stays for a while you can usually pull them a bit tighter, since the body has adapted to them. I'm doing the hair fairly early in the process. I don't like fiddling with the hair, and if something goes wrong it's better to have started early than having it be the last thing that you need to rush to be finished.

step 4
Step 4. Put the false rump on, or if you are wearing pocket hoops or panniers. My false rump started it's life as an 1880's travelling bustle. There are three layers of ruffles of some stiff fabric, inbetween two of the layers I also have a small stuffed pillow. In order to get the 1880's silhouette I had strings that shaped it into a narrow but bulging bustle, for the 1780's silhouette I removed strings and that gave it a flatter and more rounded shape.
step 5
Step 5. Petticoat time. For a long time I didn't understand why people where going on about the needs for many petticoats. Surely one was enough. Well I was totally wrong. I used to just have one made out of old sheets. Then last year I made two cotton voile petticoats, and what a difference. The second petticoat works miracles when it comes to attaining a bigger, poofier shape, it's needed to hide the support structures, and it makes the outer skirt/petticoat lay smoother. For my 18th century outfits it made them look better, but it wasn't gamechangning, but a second lightweight petticoat was what was needed to hide the hoops of my hoopskirt to the Amidala Travel Gown, and make the skirt to that one lay flat. It's better to have more petticoats out of soft and light fabrics than one heavy petticoat.
step 6
Step 6. Put on the main petticoat (outer skirt). Tie the loose pocket on over the petticoat. It's possible to have the pocket under the petticoats, since they have openings in the sides, but I prefer to wear it like this since it's easier to get to the pocket. I've embroidered the pocket so I don't mind showing it either. I try to fix the last details on my hair and make up now, before putting the robe on. I have a problem lifting my hands up over my shoulders in the robe.
step 7
Step 7. Put the robe on, fix the last things and have fun. In fact this is the one step that I think is the hardest to do by myself. The bodice and sleeves are so tight that it would be a lot easier to have a handmaid, but I can make all on my own.

This is just me wearing my 1780's ensemble, but the principle for how you get dressed is basically the same as long as there are corsets and supports involved.

Thursday, 6 February 2014

Early birthday gifts

It's my birthday in February and I've bought myself two, ok three, birthday gifts this year. Two of them have arrived quicker than I expected so I already have them, even if it's just the beginning of February.

The first thing was the book Creating historical clothes: Pattern Cutting from Tudor to Victorian time by Elizabeth Friendship.
I bought it after reading this review over at American Duchess. I can only agree with the assessment in the review, that the book covers everything, but there are few pictures of actual garments. I've just flipped through it and to be honest all the diagrams and numbers and points seem a bit daunting to me. I'm hoping that once I read through the instructions carefully and just follow them step by step, then it will be a lot clearer. I still think this is the kind of book I need though in order to be able to finally make the patterns I want to, without having to buy new patterns for every single piece. I also like that it covers such a wide time period, since I have promised myself that I am going to make a 17th century outfit one day, and I can't help that I'm dreaming of making a really nice 1880's ensemble as well.

This book together with draping will probably be very helpful. Draping brings me to my major birthday gift to myself. I've finally bought a dressform.
Here she is dressed in my navy anglaise. It was really hard to choose which size I would go for, since I am a bit between sizes, especially when I'm wearing historical undergarments. In the end I decided to go for a medium sized, rather than the small. The dressform actually arrived in less than two days and after assembling it and adjusting it I can only say that it fits my natural measurements great. Unfortunately as you can see I can't close my navy anglaise at the bust. I have adjusted the bust measurements to the smallest available, but my squishy bust is pushed upwards  when I wear stays and this gown, while the dressform of course has a bust that refuses to move. There is also a difference between the navy anglaise, which is on the verge of "I can't breathe" and the printed cotton anglaise which is probably half a size larger, and that one I could close over the bust.

If I want to make something 18th century as tight as the navy anglaise I will simply have to do the final adjustments on my body rather than on the dressform. The reason why the navy anglaise is so tight is also because I used a dressform in size small, and even with padding it was too small compared to myself.

Also even if I'm in an 18th century phase at the moment, I do quite a lot of other clothes as well, and then the dressform can be adjusted to my exact size.


Monday, 3 February 2014

Disney's Frozen

I watched Frozen yesterday with my two nieces, despite being set in Scandinavia and inspired by an HC Anderssen tale it didn't get to Sweden until now. Anyway I was totally awestruck by the costumes in the film. For the first part I just sat there gaping and thinking about how I would be able to recreate them. I definitely think Frozen is something new when it comes to attention of details on animated costumes, and I would recommend reading this interview with the costume designer Jean Gillmore. I loved the colours and how they mixed elements of the Norwegian bunad with fairytale fantasy fashion.

The bunad is broad term for Norwegian folk costume. It actually evolved in the 19th century when when national romanticist wanted to revive traditional folk customs and clothing. I'm from Sweden so I don't really know the story about the bunad, and if it's similar to the history of the Swedish folk costumes.
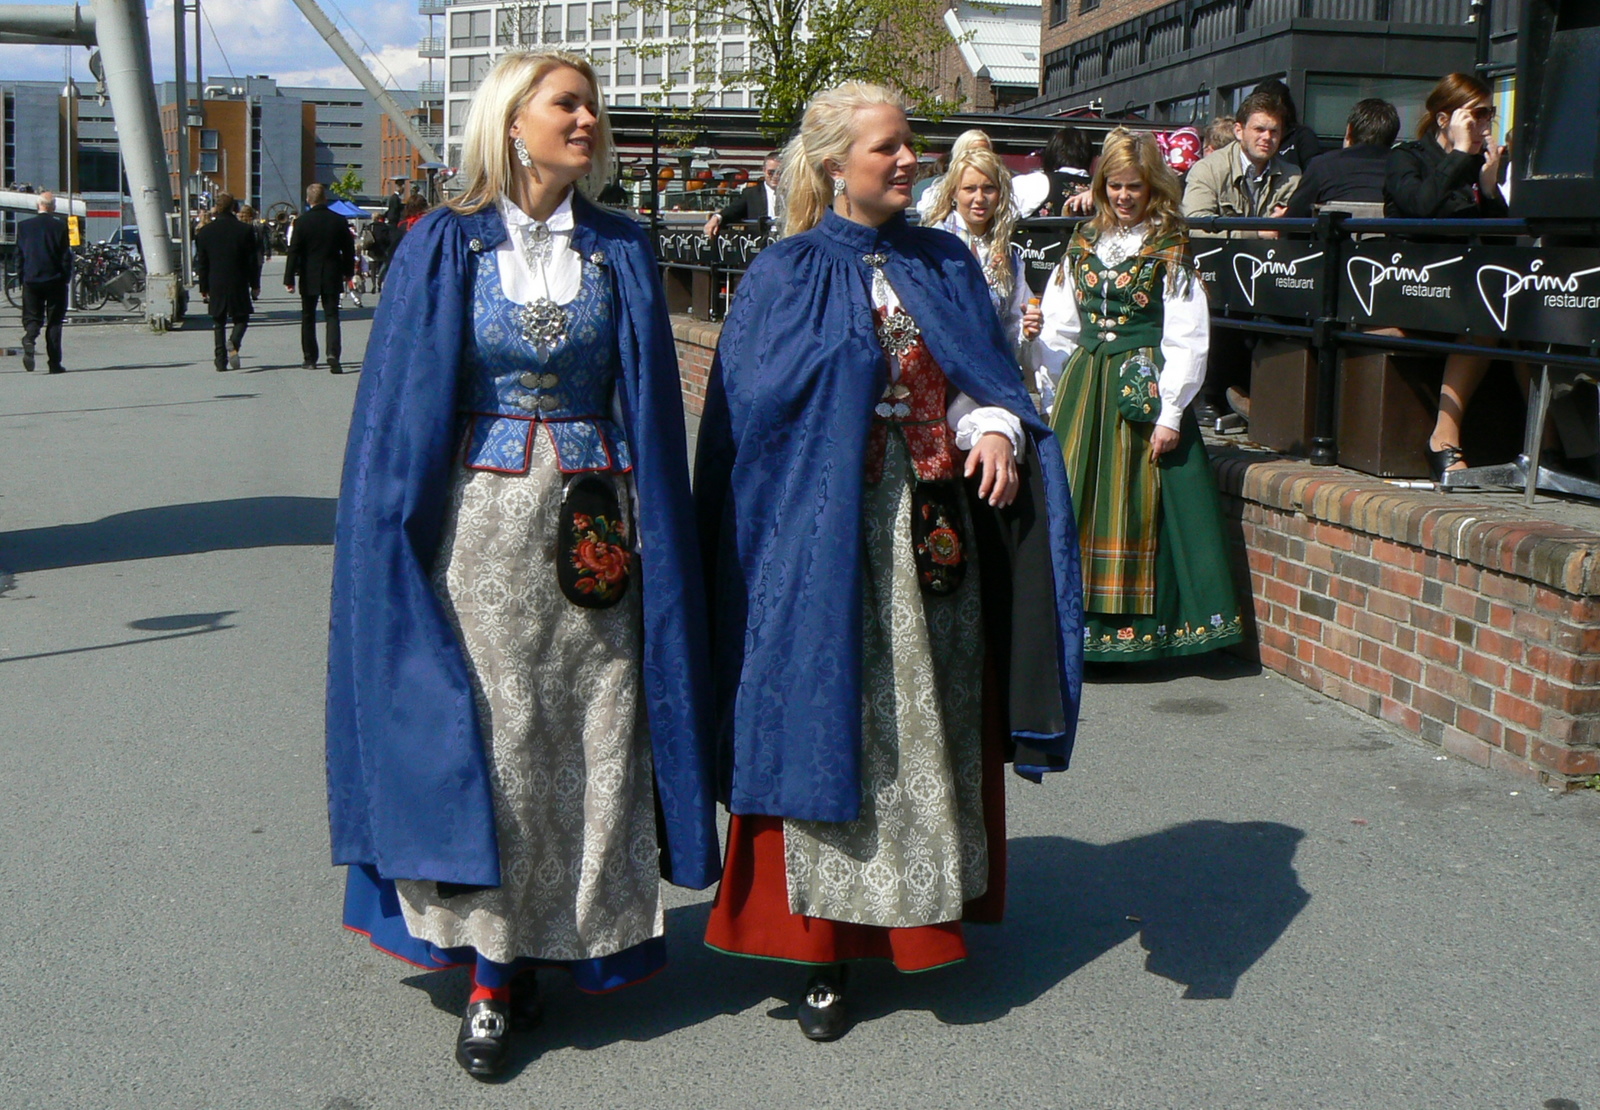
This is a picture from the wiki article about bunad and shows the modern wearing of it. This picture is from Trondheim, which is fitting since a lot of the inspirations for Frozen was taken from Tröndelag, the region surrounding Trondheim. Anyway you can see that the general style of bunad is very similar to Anna's dress in Frozen, the only thing missing is the apron.
There was one costume that I loved even more, probably because I felt that Anna's dress was a bit too young for me, and that was Elsa's coronation gown.
I have already gathered quite a few reference images of it, and it doesn't look too complicated. The gown itself would be a corset with a sweetheart neckline. It has two distinct seams on the side of the bodice, so I would possibly make the strength layer as a traditional corset and cover it with the outer fabric with those steams. The main thing is to decide if I should paint or embroidered the motifs on the skirt and bodice. I would love to use a proper wool, but the important thing is to get a fabric with a nice and heavy drape to it. For the cape I would be able to use the leftovers of my silk velvet from my Amidala gown. It's not enough left to make the train as long as in the original, on the other hand that will make it more practical to walk in.

The main problem as usual would be to fix the hair ad the little tiara.

As for wearing it. Well that is the problem, and I usually don't like to make costumes that I can't wear. he HSF has a challenge for alternate universe due around Halloween, and this would definitely fit that. I could also bring it to the annual sci-fi con in Stockholm in early December.

Saturday, 1 February 2014

Clearing out the stash

Since I moved in to my apartment almost six years ago I have had all my fabrics in a cupboard in my hall. Quite high and with plenty of shelves, but of course through the years it's been filled up with fabrics, pieces here and there and stuff like that, so the last few months it's been bursting. I've had to more or less force the fabrics into the shelves, and to be honest I haven't had any overview of what fabrics I actually have.

Today I was finally fed up with the situation and decided to go through the whole stash and see what I could get rid of, or if simply folding the fabrics neatly would help in getting me more space.

cleared out fabrics
 At first it was hard, but then got into the groove and started to be able to put fabrics in the "get rid of"pile. These are the kinds of fabrics I've decided to get rid of:
  • Small scraps. If I can't see myself getting anything useful out of them, then they shouldn't take up space.. For example I had a lot of cotton cut up to be ruffles and flounces, but I haven't added them, and today I wouldn't use those kind of fabrics for ruffles. 
  • Ugly fabrics. Through the years I have gotten quite a lot of pieces of fabrics from people, after all I like to sew and then I must love getting more fabric. I have also bought some hideous things, and there was a while when I thought I actually could look good in big patterns. I've found an UFO in the pile that proves that if I had finished that dress in that print I would have looked like an 90-year old elephant.
  • Polyester satins. When I started sewing I thought that polyester satins were the thing you could make nice costumes out of, after all that was the only thing available in the local stores. Now I hate working with those kind of fabrics so I'm throwing them out.
  • Muslin/bed sheats I've always asked my mother to get her old bedlinens when she's bought new ones, so that I can use them for muslins and trying out patterns. I found so many of them in all of my shelves that I've now decided that I will not allow myself to have more than one shelf with that kind of test fabrics.
newly organised stash
This is my new stash. Previously the shelves were ordered by colour, but now I've instead decided to have them by fabric type.
  • Top left. Natural coloured fabrics in natural fibres. Mostly leftovers from my tusken and jawa projects, but I can see use of them for historical projects as well.
  • Top right. Special fabrics. Here I have lace fabrics, batting, vinyl, felt and faux leather.
Then from the top down
  • Muslin and cheap cottons. These are the fabrics that I will use for testing patterns and draping. I've decided that I'm not allowed to let them grow out of this shelf.
  • Satins and shinies. I didn't get rid of all my satins. I kept the heavier duchess satins and those in the most beautiful colours
  • Knits and jerseys. I found a lot more jerseys than I remember that I had I normally don't work in jersey, but if I have them easily visible I might get inspired to use them. The big white piece is the material for my new classic princess Leia gown.
  • Wools and suiting fabrics. I even found a piece of plaid wool so I might have something for the HSF plaid challenge now.
  • Silks and brocades. These are the really beautiful pure silks and brocades that I have gotten through the years. They include quite a lot of fabrics that I've gotten as presents when family members have been in Asia.
  • Velvets and chiffon. It's hardly visible but I've put my velvet and chiffon fabrics in the bottom.

Now I'm going to gather the useable pieces so that I can give them to the local second hand store, I don't want to throw them away in the trash, and then I only need to make sure that I can keep the stash ordered even if I get more fabrics. I've tried to keep not fill up the shelves so that there will be space for new aquisitions.

Thursday, 30 January 2014

HSF14 - Challenge 2: Innovation

Challenge 2: innovation To celebrate the way inventions, introductions and discoveries have impacted fashion, make an item that reflects the newest innovations in your era.  Be sure to share the research you did on your innovation, as well as your finished item.

Ok, so this is a bit of a stretch, but rather than just choosing an innovation that changed fashion, I found it interesting to see how the history of this thing has been affected by innovations. The innovation I chose to focus on was bobbin lace. The stretch is that I've chosen to use the innovation for an era around 200 years after it was invented.

First though some background and family history. In my stash I have many meters of lace, quite a few worn out pillow cases with lace and other bits of pieces with different kinds of lace and decorations on them. These come from my great grandmother on my father's side. My great grandparents were quite well off farmers, according to my father they were the kind of people who never spent anything unless necessary, and made as much as possible at home. My great grandmother was skilled in the crafts needed for woman taking care of proper household. . I can't be 100% sure, but I'm pretty certain that all these of lace are probably made by her, which would date them to the early 20th century.

Lace has been made since antiquity using just a needle. In the 16th century bobbin lace was invented. When doing bobbin lace you bound the yarn up on bobbins, hence the name, and then you twist and turn the threads in a pattern, the lace that is made is wound up on a lace pillow. With bobbin lace it was possible to make a lot more lace, and work a lot faster, than with just a needle. The fashion exploded with lace, and several regions in Europe came to be famous for their lace-making. This continued up until the early 19th century. Then the first mechanical lace machine was invented. At first this led to the bobbin lace makers only making their laces more and more complicated, since the early lace machines couldn't do too complicated patterns. In the end though bobbin lace was replaced by meters and meters of machine made lace. The bobbin lace retreated into a craft for women to do in their spare time, and the laces they made were not fine enough to put on clothing. Except for in folk costumes, the home made bobbin lace was no used to decorate things for the homes, table cloths, bedlinen and so on. This is where my pieces of lace come in, they are prime examples of this kind of lace decorated bedlinen to which the bobbin lace had been relegated.

For the HSF challenge I decided to make this bobbin lace return from the bedroom to the salon, so I've made a pair of flounces that I will be able to use with my 18th century gowns.

This is the piece that I wanted to use. It's a very soft fabric, I don't know if it's worn or if the fabric was this soft from the start. The piece has been cut up, probably to just save the lace at the end, there were also some small holes in the middle of the piece.
Here's a closer look on the lace. The piece, I think it's been a pillow case, is sewn with a machine and I can't help but wonder if it was made on the old treadle machine that I remember standing in a corner when I grew up. Today I would have loved if we had kept it, so that I could use it.
The piece wasn't very wide, just enough so that I could cut it in half to make the flounces. So I cut it in half on the width and then cut off the excess fabric on the top. I sewed it together to form a tube, and hemmed the top edge.
Here are the finished flounces. They are not something that I would wear to a very fancy gown, but they will do really nice with some of the more "casual" gowns. For now I've attached them to my anglaise of printed cotton.


Fabric: An antique pillow case with bobbin lace

Pattern: none
Year: 18th century

Notions: regular sewing thread

How historically accurate is it? Not very. Except for the lace itself it's all made by machine, and the pillow case wasn't wide enough to make very flowy and wide flounces. Still they do well to masquerade as 18th century pieces

Hours to complete: 40 minutes

First worn: never

Total cost: $0 - all from my stash

Sunday, 26 January 2014

shopping for materials

It's that time of the month when I have received a new paycheck and it's time to order the stuff I've been daydreaming about. I also had my sister over a couple of hours. She wants to make her first corset, so we ordered things for that as well. She isn't going to do an historical corset, but she is going to use Truly Victorian 110.

When the stuff we delivered arrives I should be able to start on my new pair of stays, and also have the material needed to start with the 1787 revolutionary gown.

Also I told her not to order any boning until she has finished sewing the corset together, so that she will now what lengths she need. That means that she needs to make another order, and I'm hoping that I will be able to order everything that I need for my gigantic hat to wear with the revolutionary.

Well, I'm excited, and I can't wait until the materials get delivered. I might start with cutting out the pattern for the stays though, since I'm going to use a new version of my Reconstructing History pattern.

Saturday, 25 January 2014

Time to loose the corsets

Today I have done something I have thought about a long time, but it has still been hard to really do it. I decided to go through my corsets and simply get rid of some of them.

Here are the corsets that I've made through the years, most of them have been paired with skirts to make ball gowns.The reason why it's been hard to go through them is that I still feel quite attached to them. Here's the story behind them,
Upper row from left to right
1. My copper corset. This was the second corset that I ever made. The pattern is Laughing Moon's Silverado. 2006
2. The silver corset. I found the fabric in the fabric district in LA. This is probably the best corset I've ever sown. I've used it both for a ball and under my 1860's gown. This is Truly Victorian 110, which is my favorite pattern. It was also the first time I tried to work with flossing. 2008
3. White/blue. For this one I overestimated my skills. I made it into a wearable state, but never finished it. I was probably very lazy when cutting out the pieces because when  I wore it felt lopsided, and my back started to hurt. I wore it under my 1880's  walking gown, but never more. The pattern was this free pattern from 1869.   2006
4. Black brocade. With this corset I learnt the difference it makes to work in a stiff fabric. The fabric was a black brocade, and it was the first one that I made that didn't wrinkle horribly.
Bottom row from leftto right 2006
1. Green underbust. My one and only underbust corset. I made the pattern myself by heavily adjusting a drndl-bodice from Burda Magazine. I wasn't happy about the shape it gave me, I think it looks so much better with an overbust than an underbust. I wore the corset over my Arwen gown to make it a ball gown. 2007
2. The first one. This pink corset was my first ever try at making a corset. As I posted about here I wasn't happy about it,  but still it was my first. I thought I had gotten rid of it, but I found it at the bottom of my corset box. The pattern is Laughing Moon's Silverado..2005
3. White brocade. This corset isn't badly sewn, it's just that the fabric is so horrible. I bought it on ebay, and instead of getting a satin brocade, the fabric has a feel that is more like a shower curtain, so it wrinkled like crazy. Laughing Moon's Silverado. 2006

So I took a closer look on the corset and decided to throw some of them away. I wanted to recycle some of the materials though, so I ripped away the busks and some of the boning. This mostly happened to the older corsets. At that time I didn't buy precut boning, so on some of the bones the endcaps fell off when I pulled them out of their channels. I also had to throw out some of the boning and one of the busks because they had been permanently bent.

In the end I decided to save these four corsets. The copper one has a piece of boning that has gone through the binding. Both the green and that one have been used for some masquerades, and the copper one is great for dressing up as a mine ghost. Since I also have a tendency to be asked about if I have some costumes to lend out I felt that it's still a chance that they might get used. The silver and black brocade were saved because they are well made. I need to try them and see how they fit though, .since my weight has gone up and down quite a lot since I made them. Then there is the material that was saved from the corsets that I got rid of; two busks, some boning, corset lazing, a blue sating ribbon and some pearl applique.

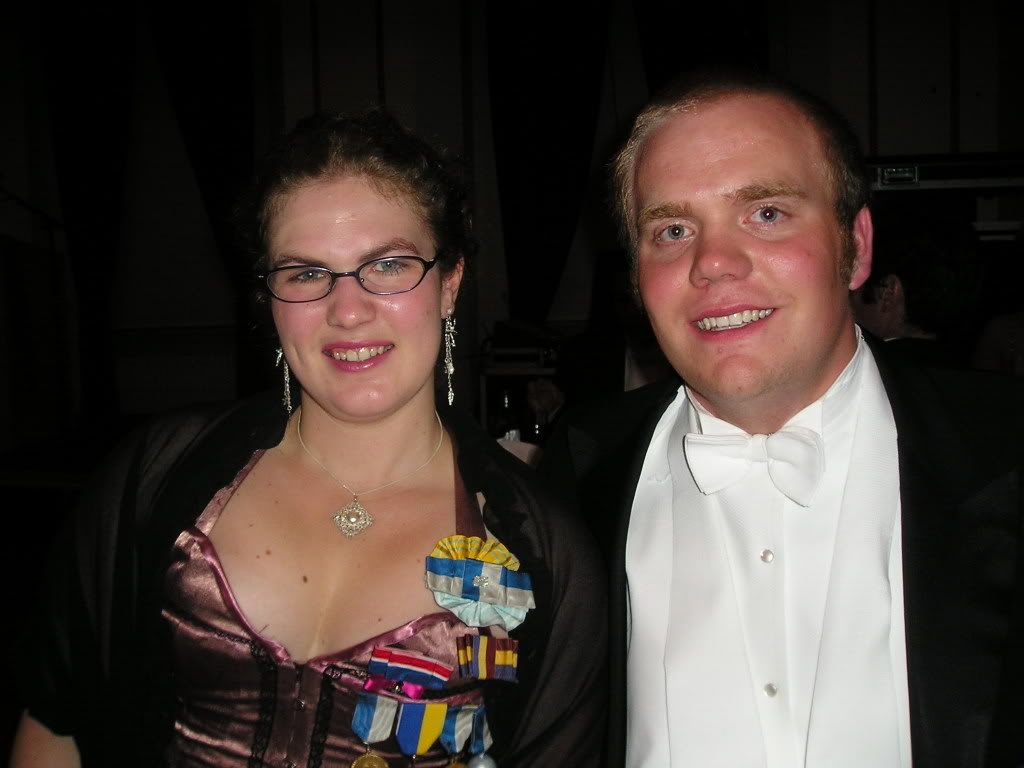
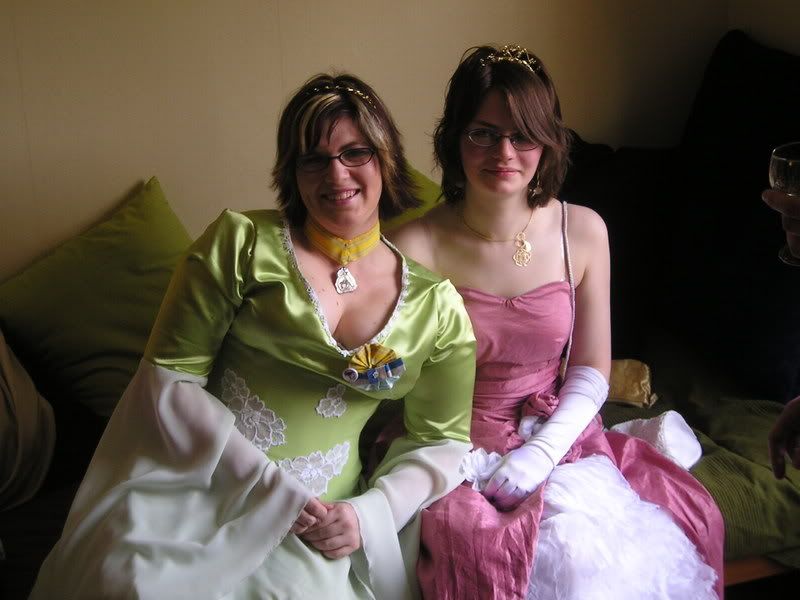
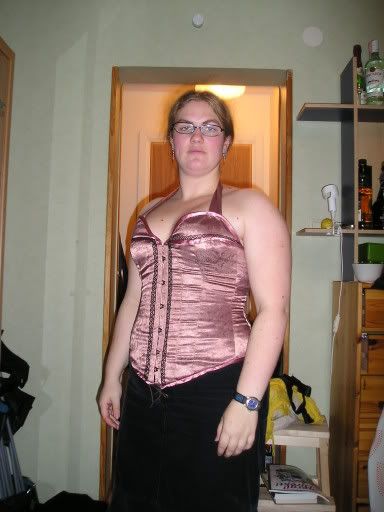
And when trying to date the corsets I found these pictures of me wearing them to different balls when I was a student in Uppsala, where balls are quite a big thing, and I made sure to always have a new gown each semester.
Me and a random guy I was placed beside at the table. I wore a simple black skirt under the corset.


Couldn't find a full figure photo, it was worn with a blue satin circle skirt where I had pinned up the hem and added silver bows to.
Using the copper corset to dress up as the Lady of the Mine/ Mine spirit