Sunday, 16 August 2015

Plastique Phantastique underwear

Even if I'm making a totally non-accurate ensemble to wear to plastique phantastique, I still need suitable underwear. I don't plan to keep this outfit, but I would like to give it to my nieces to have if they are going to masquerades or stuff. For that reason I've tried to make it as adjustable as possible, meaning a lot of elastic that will be easy to adjust for their much smaller bodies.

First I made this chemise of shiny poly organza.
It's made up of two rectangles for the back and front and two wider but shorter rectangles that were gathered to make sleeves. I ended the sleeves by encasing them in a gold ribbon, then I gathered a length of polyester lace to the ends of the sleeves before putting an elastic band in the gold casing. There is a drawstring around the neck.

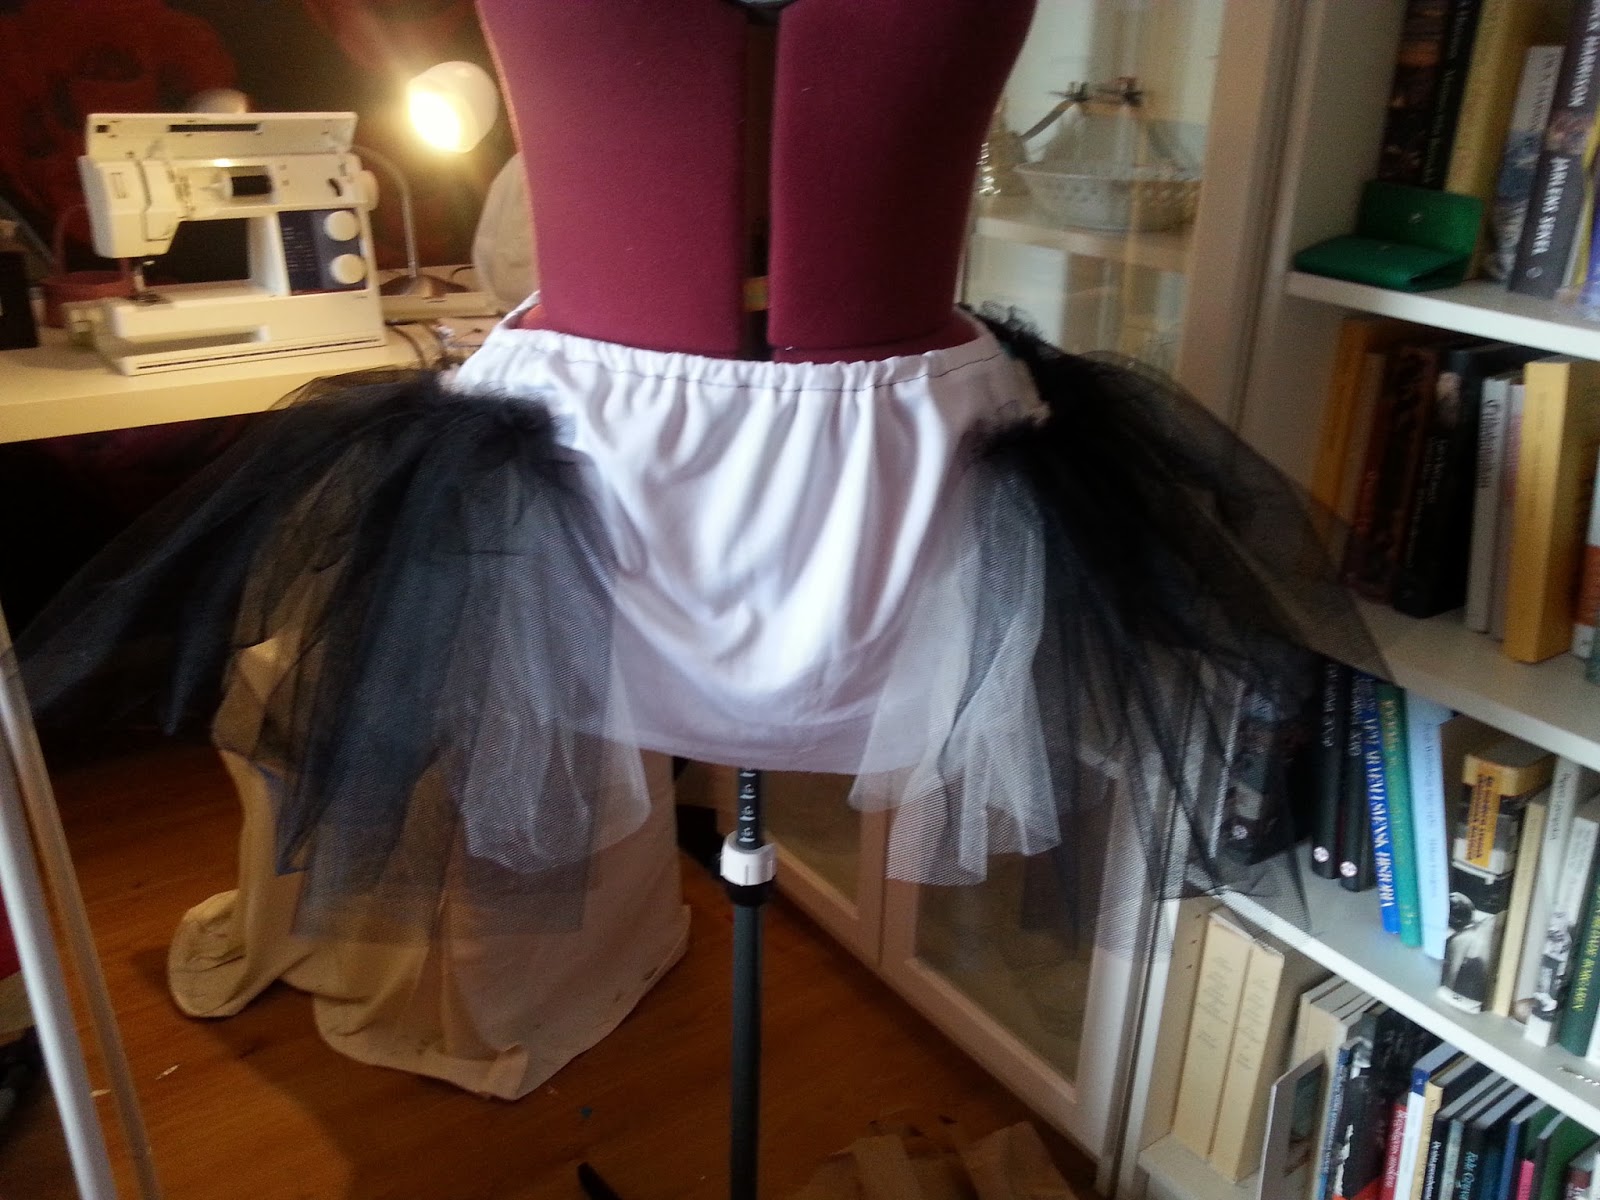
For the underskirt I of course wanted some nice side action, but if you don't want to use steel and linen, there is always polyester tuille and interlock.


First a simple foundation to add the tuille to.

Then the first layer of tuille, and this is actually what I unpicked from my Edwardian hat when I turned it into the Daisy hat. There were some holes in the net, but those aren't visible anyway.

I added yet another layer of tightly gathered tuille, there is around 2 m of black tuille on each hip. Hopefully this will hold up even when I add fabric over it.

Thursday, 13 August 2015

Plastique Fantastique Pique Nique

When I heard about this event back in spring I knew that I had to go. The description, loosely translated from Swedish is as follows:
Worried that you are not historically correct? Have ever dreamt about that gorgeous Marie Antoinetee Creation in white, shiny nylon? Now it's time to throw away the stays and silk. Dress in polyester and velcro!
Dresscode: 18th Century, with at least shiny nylon wig, preferably white our pastel coloured. Crushed velvet is underated as a fabric choice, and if you use natural materials make sure that you hide them well.
I'm looking forward to emptying my stash from some of those shiny satins that I've picked up over the years, and I want to go totally overboard with this.

As it is now my colour scheme will be gold, black and red, but we'll see what happens.

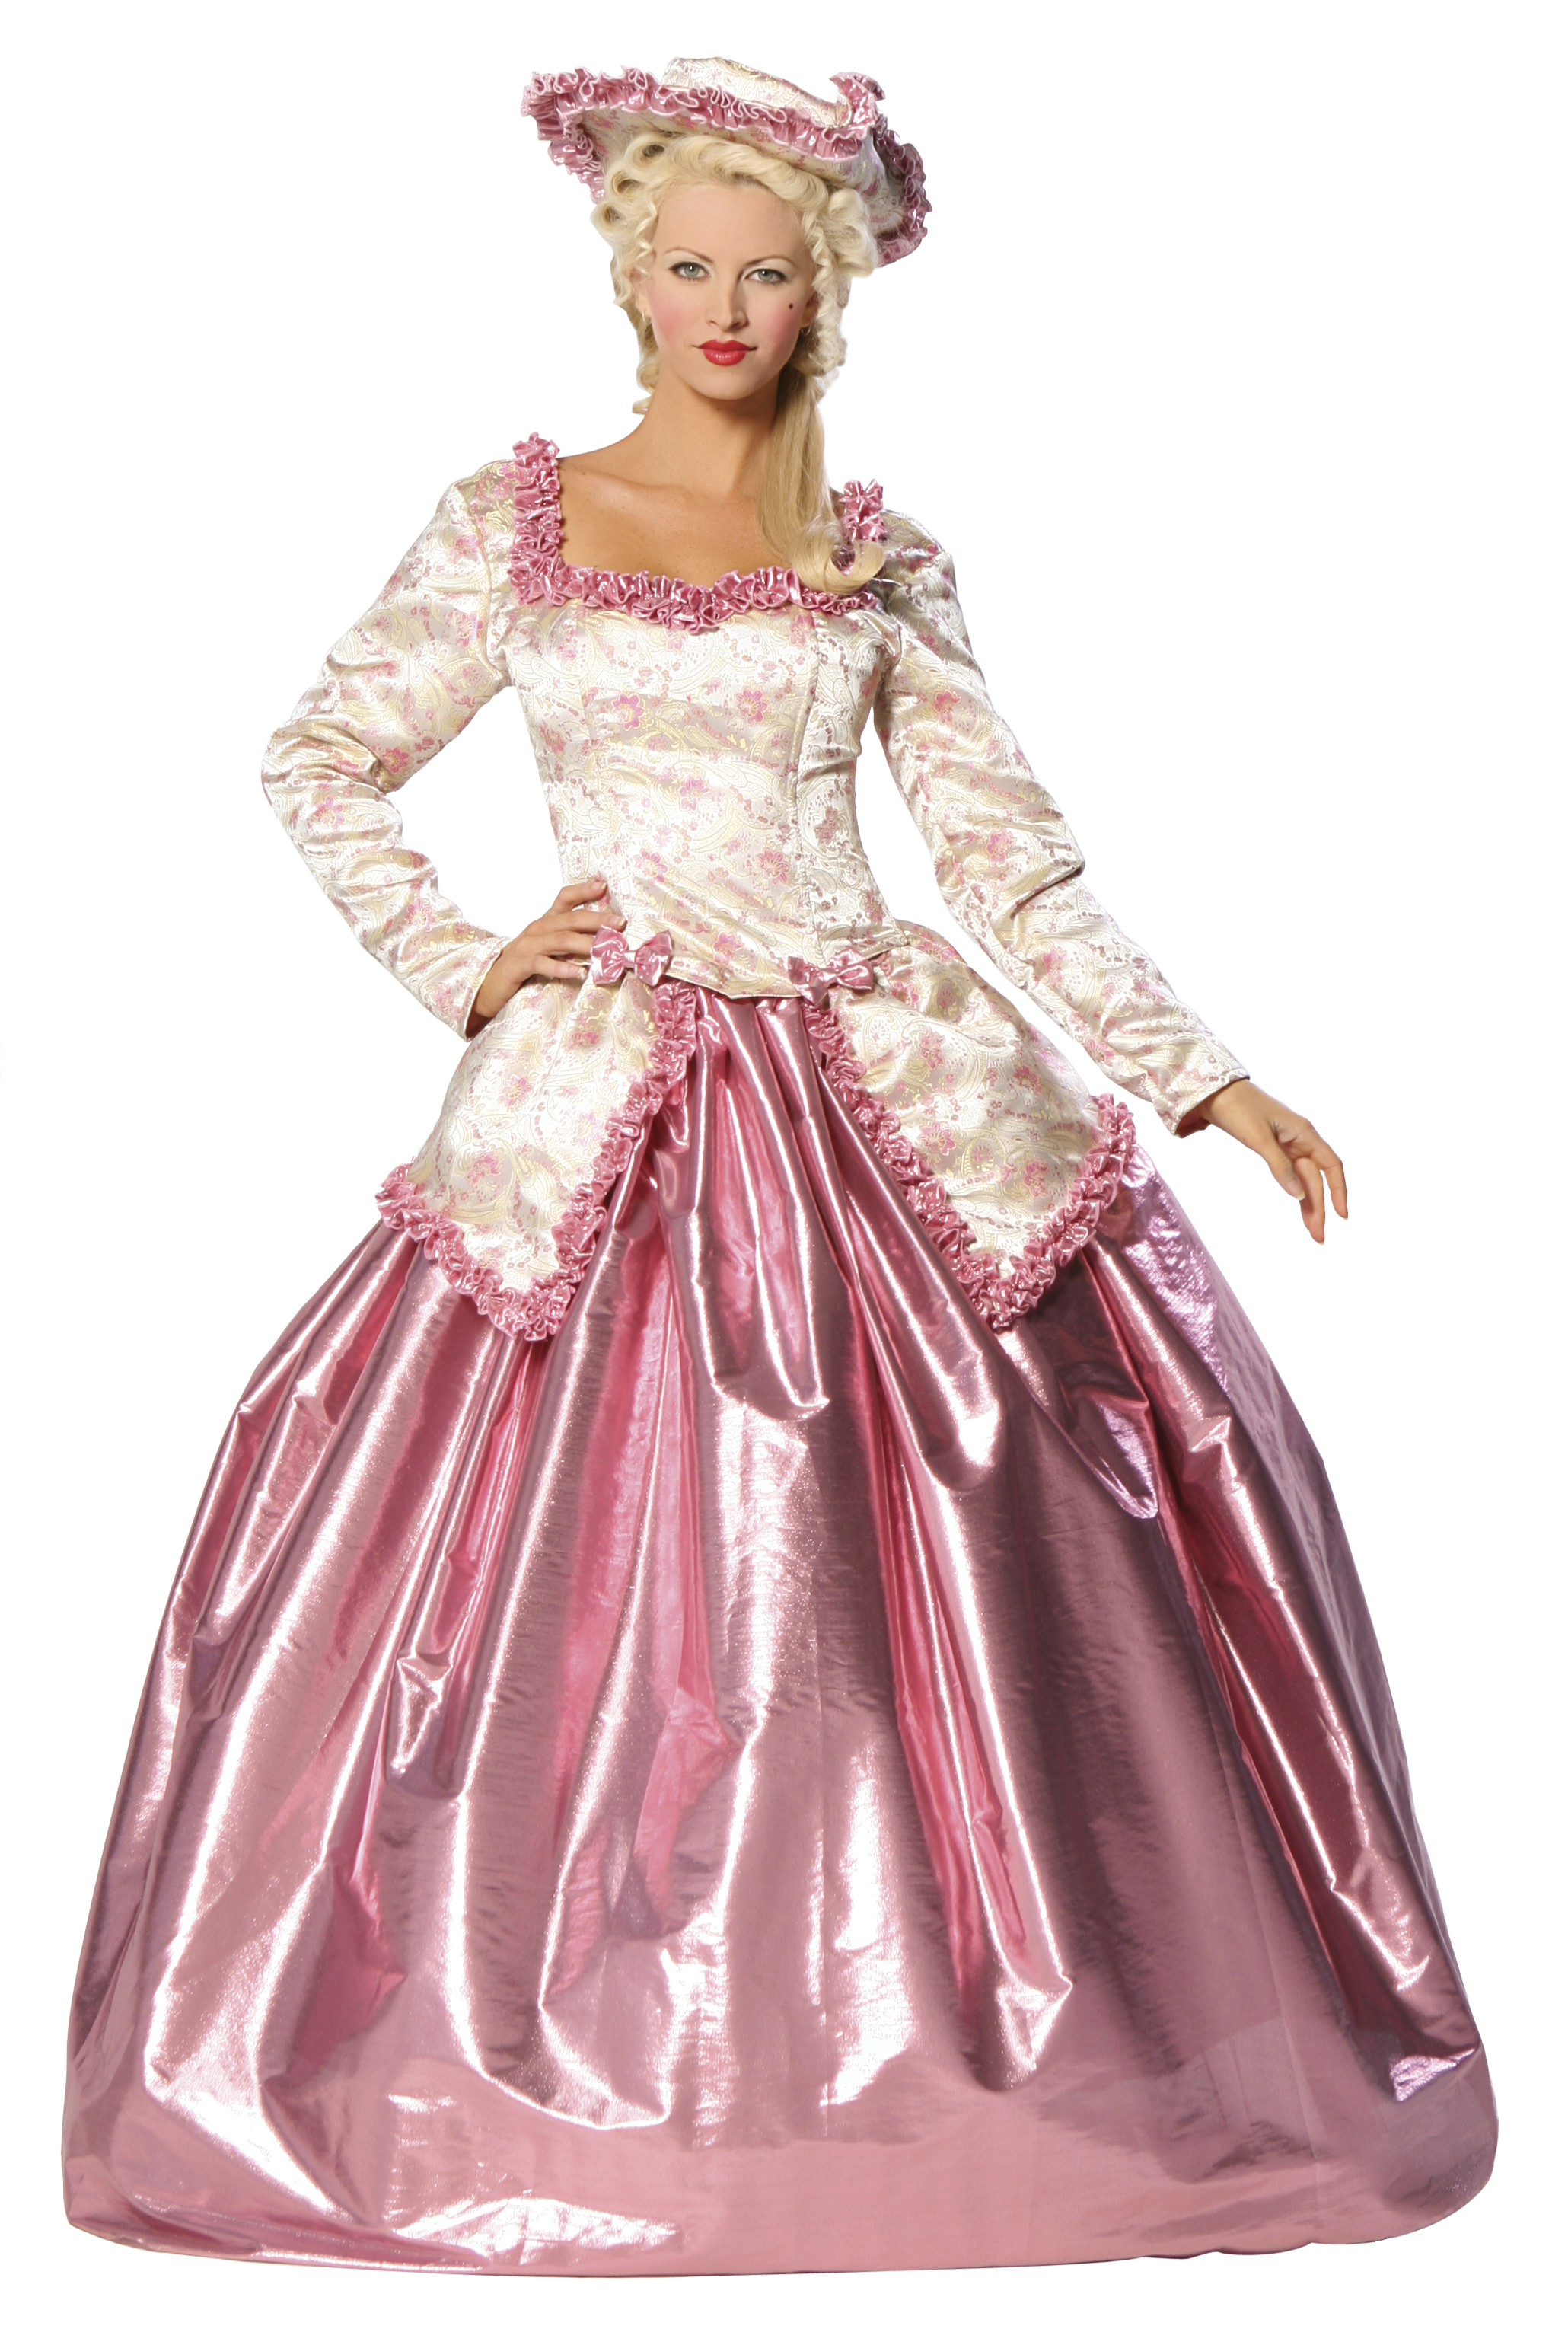
And just for inspiration here is what you get when you google "Marie Antoinette Costume"


Tuesday, 11 August 2015

Costumekullan on Facebook

I have now started a Facebook page for Costumekullan. I'm hoping that will lead to some more interaction with people who are interested in my costumes. I will be very happy for every follower, so if you would like to like it, I would be honoured.

Costumekullan on Facebook

Sunday, 9 August 2015

18th century hair styling

So over the last days I've tried to style my hair in 18th century styles. I can do a decent pouf, as seen here, but that has never been my favorite hairstyle, and at least at the moment my 18th century wardrobe is a bit later than when the pouf was fashionable. Of course I am dreaming of one day having a huge hedgehog hairstyle, but in order to achieve that I would need to style a wig, and now I only had my own hair to work with.
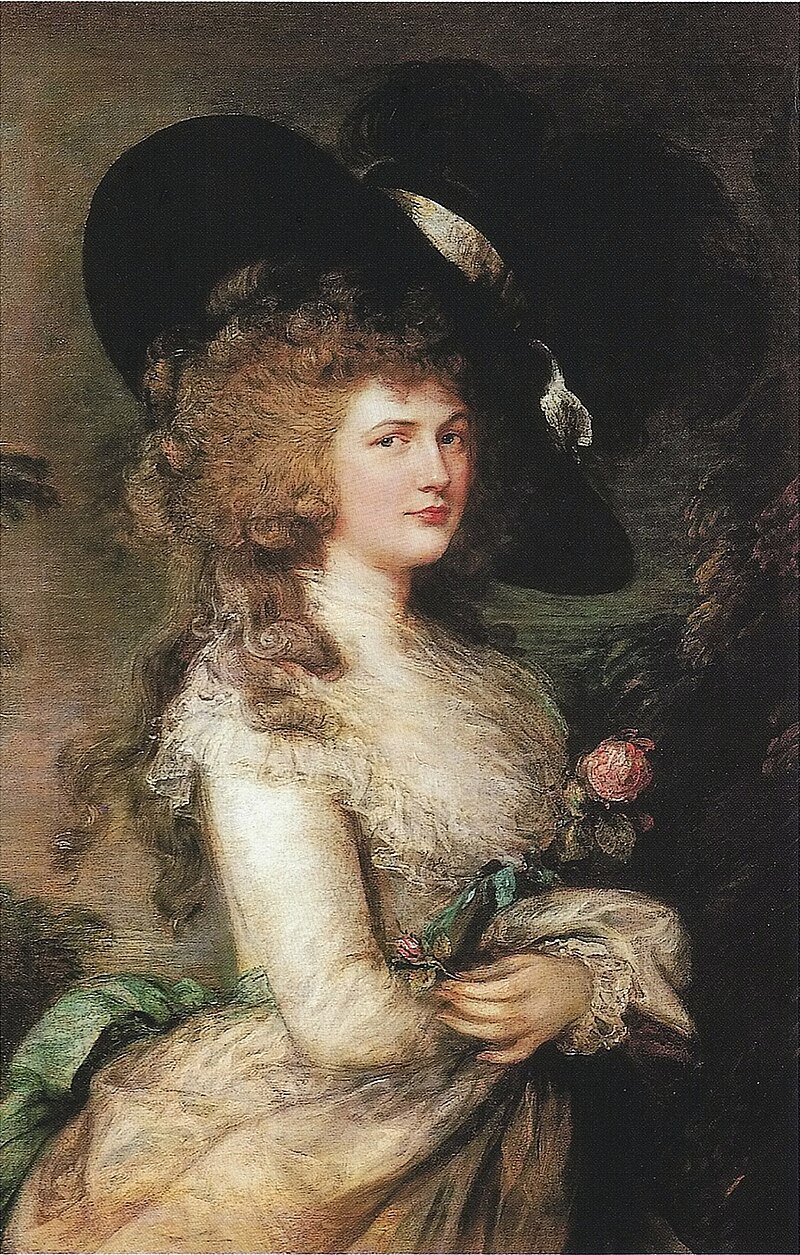
One day my hairstyle will rival the Duchess of Devonshire's.
For the photoshoot at Staberg I started the evening before that and put my hair in a lot of pincurls.

I did the pincurls by first wetting my hair and then rolling it around my fingers. I didn't really have a strategy so I just rolled and pinned the hair up. When all the hair was up I dampened it some more, and then I put it all under a buff so that I would be able to sleep on it without the curls coming loose.
The reason why I prefer pincruls is because when they are pinned up and under the buff there's no problem sleeping on it. I've tried to sleep with the hair bound up on both foamrollers and hard plastic rollers, and it's been so uncomfortable that I haven't slept much at all.

This is what my hair looked like the next morning, when I had removed the pins.
My hair naturally falls in a very visible part, if it's allowed to fall by itself, so to avoid that I pinned the middle section back, and then I simply started to tease the hair as much as I could. I actually think my hair is a bit too long for a really good bushy hairstyle, because it tends to droop down. I tried to solve that by pinning the end of the hair up under the rest of the hair.

This close up from Staberg is the one that shows off the hair best. It's quite nice, but it's not enormous enough. I want more hair. I also think I need to practice teasing the hair better.

Now today I dressed up in 18th century style again, but today I wanted to use my gaulle and go for a 1790's look instead. The event was a small scale affair, and since I went there alone I don't have any pictures from it. I did try out driving in stays though, and since I hadn't cinched them totally that was no problem. the last few kilometers when I had stayed, cinched the stays and put on the gaulle was no fun though.

Anyway for the hair today I realized that after all I have the wonderful 18th century hair & wig styling book, so why not use it. What I really like about this book is that it has both an extensive chapter with photos of portraits and what the hairstyles actually looked like, and then it also has the instructions on how to achieve them. For this hairstyle I mostly followed the instructions for the "Adela - simple short and long hairstyle".  Working with my own hair I knew that I wouldn't be able to achieve the full style, but looking at the reference pictures in the first part of the book I felt that I could achieve something quite good anyway.

Just like with the previous hairstyle I started the day before with rolling the hair up. The main difference is that I was more thorough with how I parted it, making two distinct sections of hair (back and front). I also rolled the curls in front with the help of roll form, it's a spoonhandle from the kitchen. This made the curls a lot more uniform. In the back I used larger foamrolls for the hair. Unfortunately I ran out of foamrollers so I had to braid the hair and hope that I would be able to heat set it with my curling iron in the morning. The curling iron didn't give anything like results of the wetset curls though, so in the end I simply took those bad curls and pinned them up under the rest of the hair to give it some volume.

When I took out the foamrollers and the pins I didn't brush out the looks. I simply used my fingers to shake the out a bit and added a hairband.


I'm quite pleased with this hairstyle, but when I do it again I would like to use a bigger roll form and see what difference that would make to the hairstyle.

Friday, 7 August 2015

An afternoon at Staberg

Today I had the opportunity to get some photos taken of me in my costumes. I Went to my favorite photo Place, Gamla Staberg, with its 17th Century mansion, early 19th main building and 18th century garden. Now the houses are private property so it's the garden that you can stroll around in. I of course wanted to use my new Daisy hat, and with that I felt that the navy Anglaise was the only matching choice. I quickly made a new petticoat for it, so I wouldn't have yet another photo of me in the navy Anglaise with the yellow skirt.

In front of the early 19th century house

Looking out over the garden, with the 17th century mansion in the background

By the hop garden
By one of the outhouses
The daisy hat is definitely a hat where you need to be aware of the wind direction

Sunday, 2 August 2015

HSM 15: Challenge 7 - accessorise, or the daisy hat

For the accessorise challenge I decided to make a hat. I've also decided that I need to stop, I don't need more than four 18th century hats. Well I started off with my Edwardian hat from May.

It worked quite well from a distance, but I was never happy with it on close up. So I removed everything from it and was back at the base hat, which is a straw hat that I've shortened the side of the crown and added two rows of millinery wire along the brim for stability.

Then it was time to find some fabric to cover it with, and I found a last remnant of the silk from my sister's wedding gown.

Since this was a scrap piece I needed to be a bit creative with how to get the pieces big enough to cover that hat. For the top I pieced two pieces together, hoping that the edge wouldn't be too visible when I added trim.
For the underside of the hat I cut the longest piece that I could get out and pleated it into shape.
Since the fabric is a silk charmeuse, and very soft, the pleats didn't get as crisp as I would have liked. If I ever cover a straw hat again I would also add a layer of fabric between the top fabric and the straw base, to hide more of the straw structure from showing through.  Here is the hat covered in fabric.

Then it was time for the trim. I have a piece of very bright yellow silk. I bought it as a test swatch when looking for fabric for the golden handmaiden, but it was too yellow. I had to buy a yard, but at the same time a yard isn't really enough to make anything out of. Now I cut it up into strips, a narrow strip for the crown and a wider for the brim. I didn't want to hem the strips, both because I hate hemming and the fact that it would look to bulky. So I brushed the edges of the strips with watered down wood glue, which also has the benefit of making the edges a bit stiffer and holding the pleats better. Then I box pleated the trims and tacked them down to the hat.

With its pleats, and its bright white and yellow colours I definitely thought of a daisy when looking at it, so from now on this will be called my daisy hat. If I fnd a suitable fabric or ribbon I might like to add some white trim on top of the yellow, but for now it's done.

What the item is: An 18th century bergére hat
The Challenge: 7 accessorise
Fabric: 0,5 m white silk charmeuse, 0,5 m yellow silk taffeta
Pattern: none
Year: ca 1780
Notions: A straw hat, millinery wire, regular sewing thread for the fabric, buttonhole twist for attaching the millinery wire.
How historically accurate is it? The final look is, but the assembly isn't, so maybe 20%.
Hours to complete: 4-5 days
First worn: Not yet
Total cost: Even if all was from the stash the cost of the hat, the millinery wire and the fabric when bought new would have put it at around $40

Tuesday, 28 July 2015

Presenting Nordic Reel Icons


When Henrik and Anna had their panel about cosplay at NärCon they presented the Nordic Reel Icons initiative. In a way it's a branching out of what the 501st and Rebel Legion do, in that the goal is to have screen accurate costumes, and use them to work for charity. I think it's easier to just paste the description from their site:

We are a non-profit organization of people with great looking, screen accurate costumes that likes to dress up and do good! Reel Icons consists of well known characters from many different universes and span all ages.
Reel Icons often works together with it’s Star Wars counterparts, The 501st Legion, Rebel Legion and R2 Builders Club, to collect money for a variety of charity organizations. We dress up in our costumes and appear at conventions, exhibitions, childrens hospitals, birthdays parties, company events and more to show our love for the characters, games, films and TV-shows.

Rather than profiting from our appearances, the money we collect is donated to charity. 

Since Nordic Reel Icons was launched last week there aren't many members yet, but they are ready to accept applications. I don't have a suitable costume for this, but it will definitely make me open up to make more pop cultural costumes, now when there is an organisation and a venue for them. 

Find out more at the Nordic Reel Icons web site http://reel-icons.net/ - or the Nordic Reel Icons Facebook page - https://www.facebook.com/NordicReelIcons