At Leksand's medieval fair in the end of May I decided that I needed a a medieval outfit that wouldn't melt me if the temperature got above 20. I did remember that back in 2013 I bought two pieces of lovely wool fabric when I was in London, but I had never known what to do with them.
I had 3 m of the teal fabric, and 2 m of the yellow. The fabric is a very thin, lightweight wool. It's too thin to be historically accurate, but I figured that it could make a nice light wool gown. Since the fabric wasn't accurate I also decided not to handsew the dress, but do most of it on the machine and only do the visible seams and hems by hand.
3 m of fabric is really cutting it close, for example I bought 5 m for my green wool 1520's gown. I still wanted to see if I could get a dress out of it.
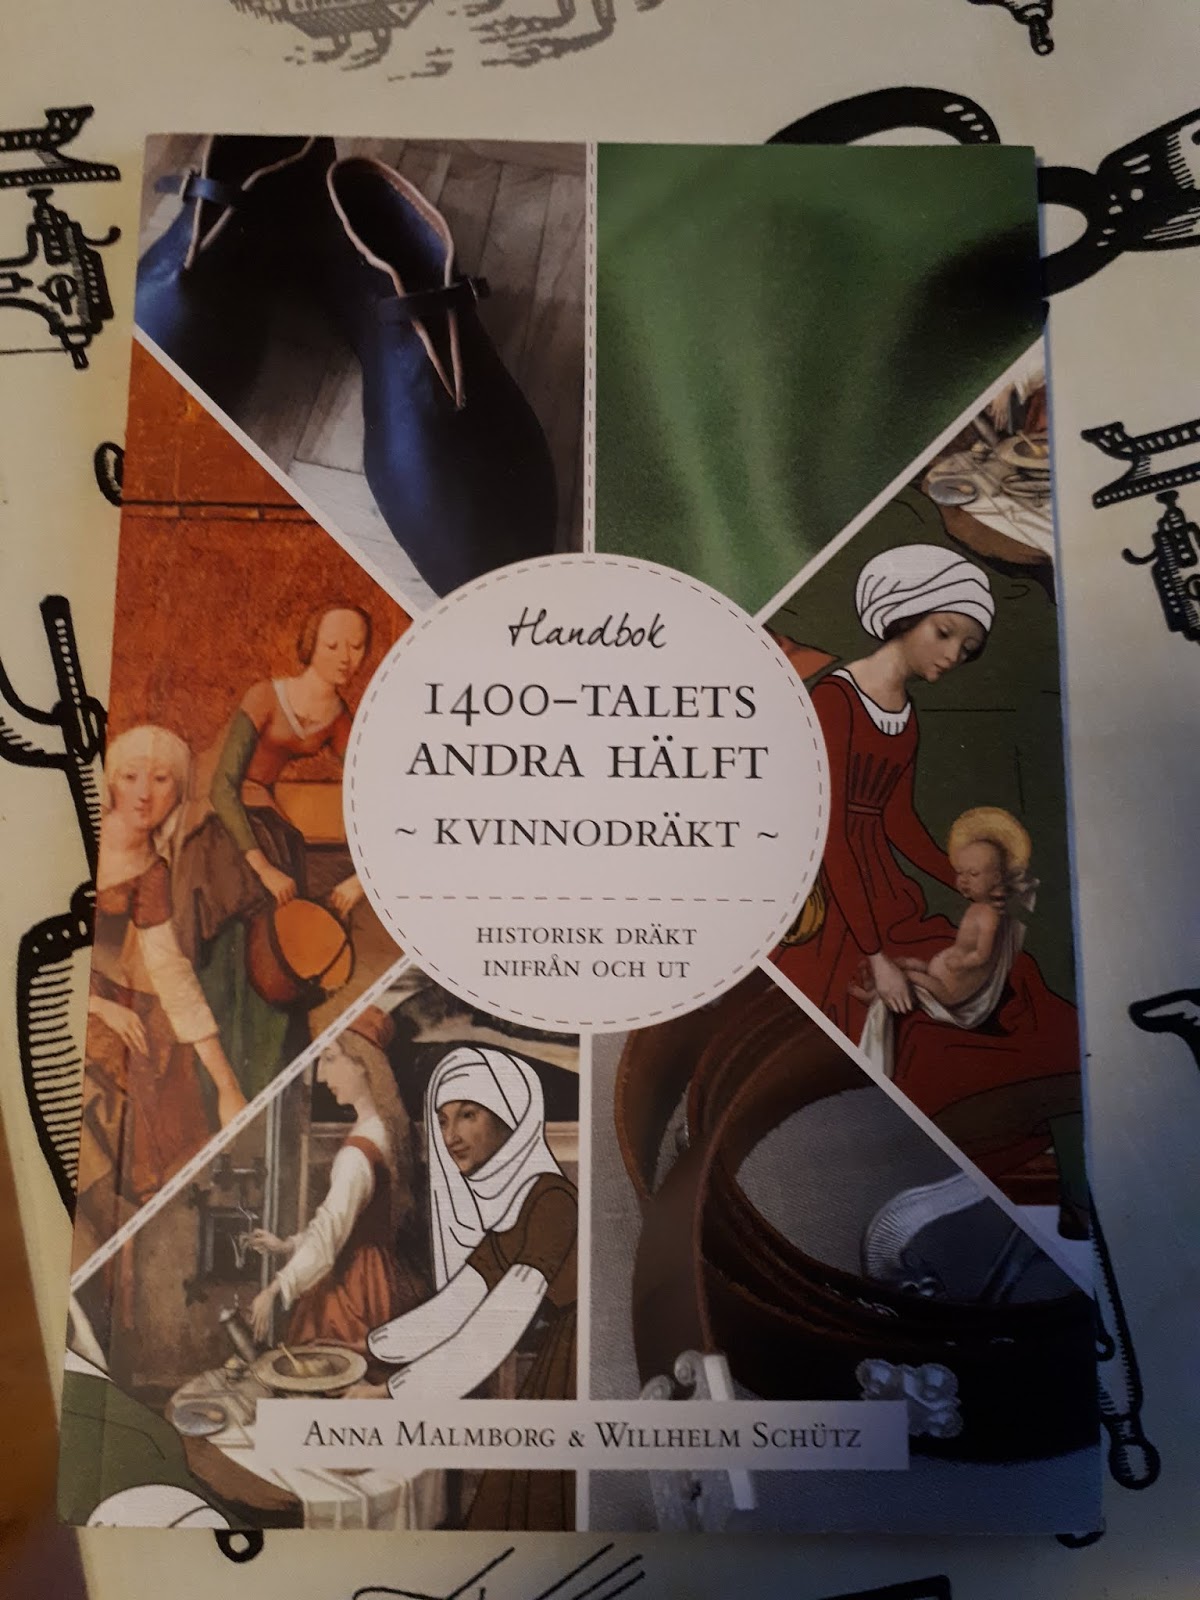
This spring I have also bought a book about late 15th century fashion for women.
This is a book I can really recommend, there is a separate book for men as well. It's not a pattern book, instead it goes through all the layers needed to make an outfit and the general look of each piece of clothing. It also includes hairstyles, fabric options and a few of the most common stitches. The late 15th century has so much in common with my interest in early 16th century, so it wasn't hard to find inspiration. I decided to make a short sleeved undergown of the wool. Short sleeves means less fabric, and since it's an undergown it would be possible to make it a bit shorter. Undergowns were worn as outer gowns when working, so I would be able to walk around in it as well.
I started with my general bodice pattern that I made for the green gown. With inspireation from the book above I decided to add a centre back seam as well, and to shape the bodice in the back seam and side seams.
This is the base bodice pattern that I started with.
Then I cut out the lining fabric and pinned it in place unti it felt good. I used a sturdy linen, from an old pair of linen curtains for the lining.
Then I used the lining pieces as pattern pieces for the main fabric. When I had attached the lining and outer fabric I marked the holes for the lacing and I made the lacing holes by hand.
This is a good example of why it's not good for a diabetic to sew when the blood sugar goes too low. The bottom lacing hole is what I started with, after having eaten I had to rip it up and meake new neater lacing holes. I'm using a button hole stitch for the lacing holes.
Then it was time to try and get a skirt out of the leftovers from the fabric. I managed with only one large seam to piece two fabric pieces together.
I also had to make do with a skirt that was a bit shorter than I would have liked. I used a hemfacing so that I didn't need to turn up any more fabric than necessary. The skirt was gathered into the bodice with box pleats.
The finished gown, worn together with my first smocked shift.
And from the back. When I took the photos I was on my way from Tuna Ting, and had already ditched my veil, that's why my hair is uncovered.
I'm really happy with this dress, and it's cool and light. Perfect for hot summer days. In fact it was almost too cool for today's weather.


No comments:
Post a Comment